
How to use an iMac as a PC monitor?
How to use an iMac as a PC monitor?
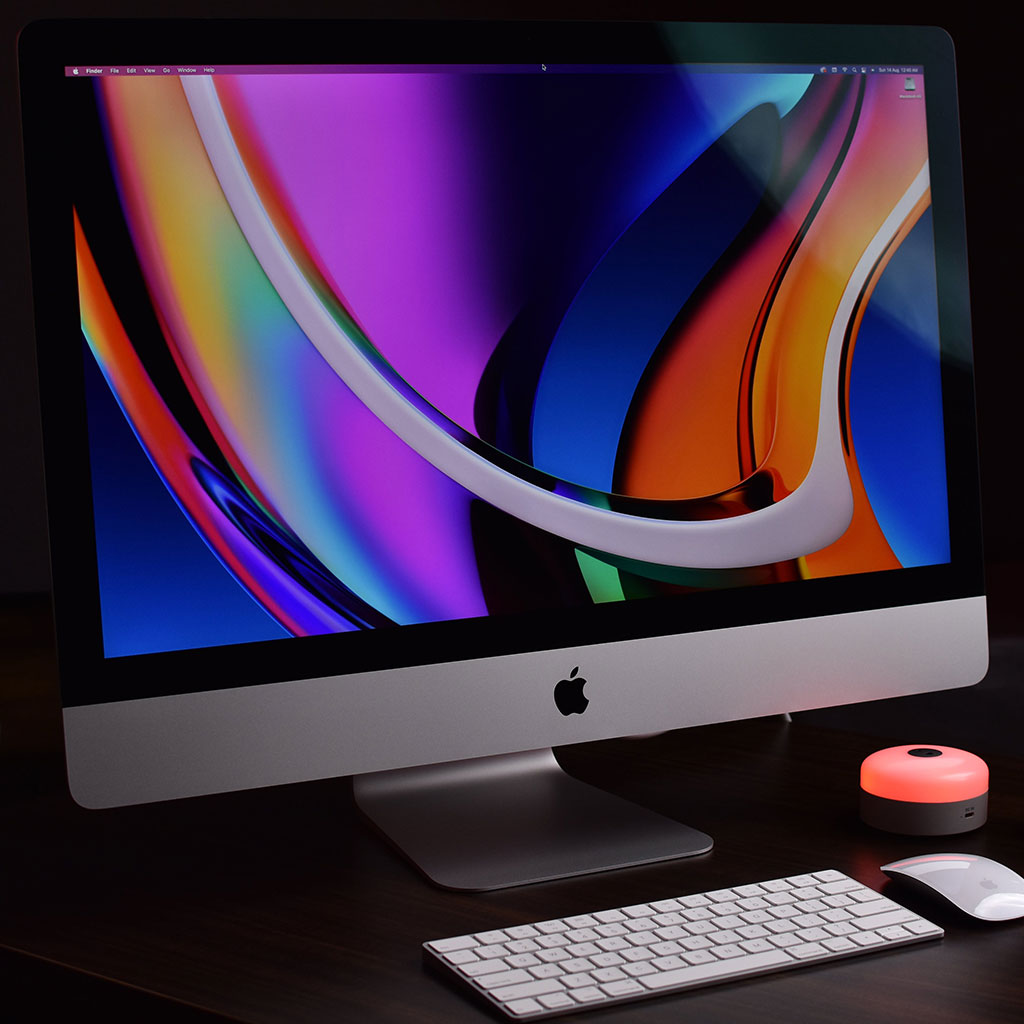
Repurposing an iMac as a PC monitor offers an innovative way to utilize its high-quality display and maximize its functionality. This article explores the step-by-step process and considerations to transform an iMac into a PC monitor, catering to users seeking to leverage their iMac’s screen for external device use.
Unlock the secrets of transforming your iMac into a dazzling PC monitor!
Using an iMac as a PC monitor, also known as Target Display Mode, enables you to leverage the iMac’s stunning display for external device use, such as connecting a Windows PC or another Mac. However, it’s important to note that not all iMac models support this feature. Here’s a detailed guide on how to utilize an iMac as a PC monitor:
- Check iMac Compatibility: Verify if your iMac supports Target Display Mode. Typically, iMacs released in 2009 through mid-2014 support this feature. To confirm compatibility, check Apple’s official documentation or search for your iMac model’s specifications on Apple’s support website.
- Required Cables and Adapters: Use the appropriate cables to connect your PC to the iMac. For older iMacs with Mini DisplayPort or Thunderbolt 1/2, you’ll need a Mini DisplayPort or Thunderbolt cable, depending on your PC’s video output. Newer iMacs with Thunderbolt 3/USB-C require a Thunderbolt 3/USB-C to HDMI or DisplayPort adapter for PC connectivity.
- Connect the Devices: Turn off both the iMac and the PC. Connect one end of the cable or adapter to the video output port of your PC and the other end to the Thunderbolt/Mini DisplayPort/USB-C port on the iMac.
- Activate Target Display Mode: Turn on your iMac and press the Command + F2 keys on the iMac’s keyboard to activate Target Display Mode. Alternatively, on some iMacs, you might need to press Command + Fn + F2 ( ⌘ + FN + F2 ) or Command + F2 + Fn ( ⌘ + F2 + FN) keys. This action should switch the iMac’s display to the external input source (the connected PC), making the iMac function as a monitor.
- Adjust Display Settings: Once the iMac is in Target Display Mode and displaying the PC output, access the display settings on the PC. Adjust the resolution and other display settings to optimize the output for the iMac’s screen.
- Utilizing Sound and Peripherals: Note that Target Display Mode typically only transfers video and not audio. You might need separate speakers or headphones connected to your PC for audio output. Additionally, USB peripherals connected to the iMac might not function when using it as a monitor for the PC.
- Exiting Target Display Mode: To exit Target Display Mode and return the iMac to its normal function, simply disconnect the cable or adapter between the PC and the iMac. Pressing the Command + F2 ( ⌘ + F2 ) keys again might also revert the iMac to its regular display mode.
By following these steps and ensuring compatibility, users can effectively repurpose their iMac as a high-quality external monitor for a PC, providing a convenient and visually impressive display for their external device.
How to adjust display settings for iMac screen when using it as a monitor on a PC?
When using an iMac as a monitor for a PC, adjusting display settings and resolutions ensures optimal output on the iMac’s screen. On the connected PC, accessing the display settings allows users to fine-tune the output resolution and other visual parameters for compatibility with the iMac’s display. Navigate to the PC’s Control Panel or Settings menu and select “Display” or “Graphics Settings,” depending on the operating system. Here, users can modify the screen resolution, adjusting it to match or closely align with the iMac’s native resolution. Ensuring that the PC’s output resolution corresponds with the iMac’s native resolution helps maintain clarity and prevents scaling issues, providing a more seamless and optimized visual experience.
Additionally, users can fine-tune other display settings, such as refresh rates and color profiles, within the PC’s display settings. Adjusting the refresh rate to match the iMac’s supported refresh rate, typically 60Hz for most iMac displays, contributes to smoother visuals and reduces potential screen flickering or tearing. Tweaking color profiles and brightness settings helps align the PC’s output to the iMac’s color calibration, ensuring more accurate color representation and a consistent visual experience across both devices. By carefully adjusting these settings on the PC, users can optimize the output to suit the iMac’s screen, enhancing the overall visual quality and compatibility when using the iMac as a monitor for the PC.
Conclusion
In conclusion, using an iMac as a monitor for a PC is relatively simple and straightforward, allowing users to enjoy the impressive visuals of their iMac’s display. To begin, connect the PC to the iMac via a compatible cable or adapter, such as Thunderbolt 3 (USB-C). Then press the Command + F2 ( ⌘ + F2 ) keys on the iMac keyboard to enter Target Display Mode. From here, adjust the resolution and other display settings on the PC to match or closely align with those of the iMac. Additionally, connecting separate speakers or headphones helps provide audio output when using Target Display Mode. Finally, disconnecting the cable or adapter between the two devices exits Target Display Mode and restores normal functionality on both devices.

Copyright © OurDeal. All right reserved.

You must be logged in to post a comment.