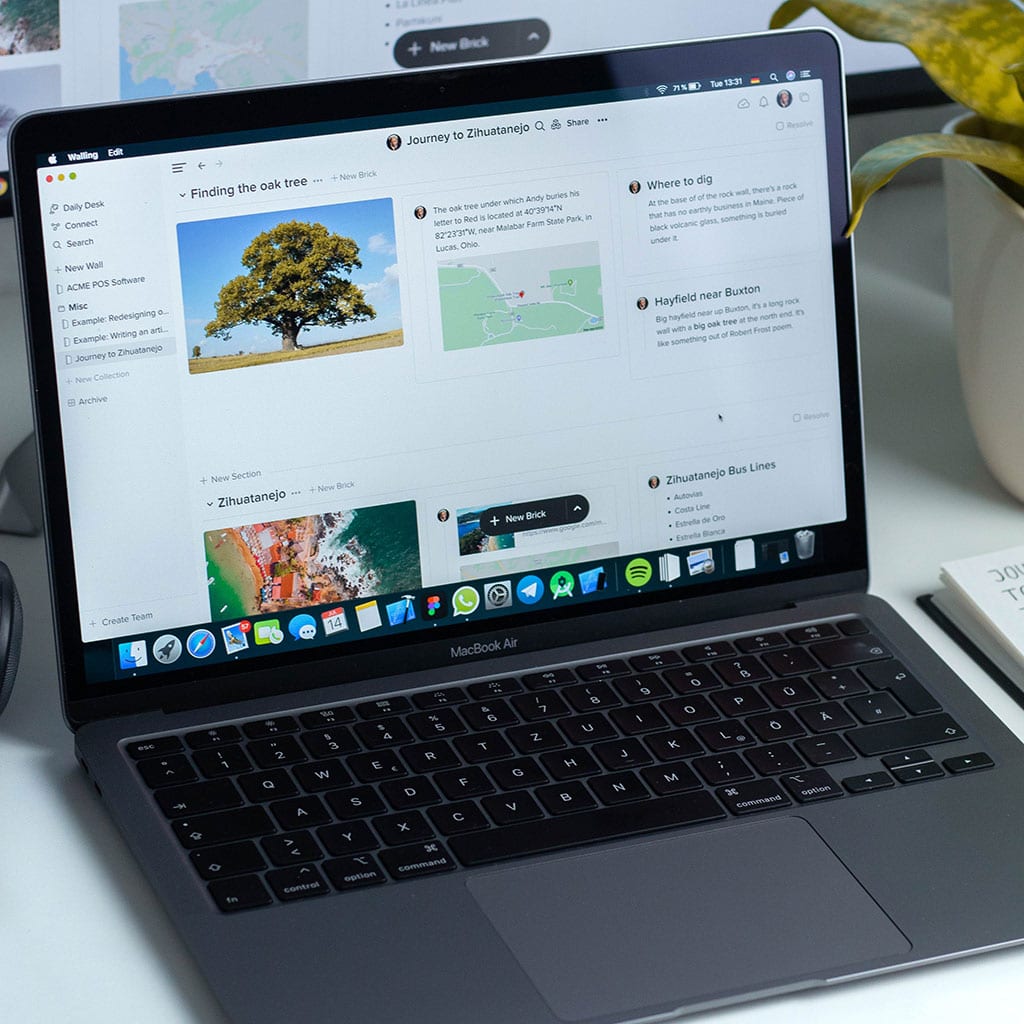
How to Screen Record on MacBook Air
How to Screen Record on MacBook Air
Screen recording is a powerful feature that lets you capture and share your digital experiences. This article offers a concise tutorial on how to effectively use screen recording on your MacBook Air, allowing you to create informative tutorials, showcase software demonstrations, or preserve memorable moments with ease.
Why screen record on macbook?
Screen recording on a MacBook offers a multitude of advantages that cater to various personal, educational, professional, and creative needs. Here’s why you might consider screen recording:
Educational and Tutorial Content: Screen recording is a powerful tool for creating educational content, tutorials, and demonstrations. Whether you’re an educator, a student, or someone who wants to share their expertise, screen recording allows you to visually guide viewers through complex concepts, software usage, or step-by-step processes. This dynamic visual presentation enhances understanding and engagement, making it an effective way to impart knowledge and skills.
Software Demonstrations and Troubleshooting: For software developers, technical support professionals, or anyone dealing with software-related matters, screen recording is invaluable. It enables you to record software demonstrations, troubleshooting steps, and bug reports, providing a clear and detailed visual representation of the issues at hand. This expedites communication and helps stakeholders better understand the problem, leading to more efficient solutions.
Remote Collaboration and Communication: Screen recording aids in remote collaboration by allowing you to record presentations, project updates, or brainstorming sessions. You can share these recordings with team members across different locations and time zones, ensuring everyone is on the same page. This is particularly valuable for remote work scenarios where face-to-face interactions are limited.
Creative Content and Entertainment: Screen recording isn’t just limited to professional use. Many content creators use it to capture and share gameplay, create software reviews, or record artistic processes. It’s a versatile tool for those who want to showcase their creativity, entertain their audience, or offer unique perspectives on various topics.
Record Memorable Moments: Beyond professional and educational purposes, screen recording allows you to capture memorable moments from video calls, virtual events, or online streaming sessions. Whether it’s a heartfelt conversation with a loved one or a virtual celebration, screen recording lets you preserve these moments for posterity.
Instructions for screen recording on a MacBook Air
Screen recording on a MacBook Air is a versatile feature that enables you to capture your screen activities, making it perfect for creating tutorials, sharing demonstrations, or recording memorable moments. Here’s a step-by-step guide on how to perform screen recording on your MacBook Air using the built-in tool called “QuickTime Player”:
- Open QuickTime Player: Launch “QuickTime Player” from your Applications folder or by using Spotlight search (press Command + Space, then type “QuickTime Player”).
- Access Screen Recording: In the QuickTime Player menu, click on “File” and then select “New Movie Recording.”
- Select Screen Recording Source: A recording window will appear. To initiate a screen recording, click the arrow next to the record button (a red circle). From the dropdown menu, choose “Internal Microphone” for recording audio along with the screen capture. You can also select your external microphone, if applicable.
- Start Recording: To begin recording your screen, click the record button. You can either capture the entire screen or a selected portion. If you opt for a selected portion, drag to create a rectangle around the area you want to capture.
- Record and Annotate (Optional): Once the recording starts, you can perform the actions you want to capture. QuickTime provides a set of annotation tools, such as drawing, highlighting, and adding text, which you can access by clicking the small arrow icon in the recording window.
- Stop Recording: To end the recording, locate and click the “Stop” button in the menu bar positioned at the top of the screen. Alternatively, you can use the shortcut Command + Control + Esc ( ⌘ + ⌃ + Esc ) to stop the recording.
- Save the Recording: After stopping the recording, QuickTime Player will display a preview of your recording. You can review it and make edits if needed. To save the recording, click “File” > “Save” and choose a destination on your MacBook Air.
- Choose Format and Quality (Optional): If you want to adjust the recording’s format or quality, you can do so by clicking “File” > “Export As.” This allows you to choose from various export options, including different video formats and resolutions.
- Share and Enjoy: Once saved, your screen recording is ready to be shared or enjoyed. You can upload it to video-sharing platforms, send it to colleagues or friends, or keep it for personal reference.
By following these steps, you can effectively utilize screen recording on your MacBook Air using QuickTime Player. This versatile tool empowers you to capture and share your screen activities for a wide range of purposes, whether it’s educational, informative, or simply for preserving memorable moments.
Screen recording can be done with third-party apps
Screen recording is an incredibly useful tool that can help you capture what’s going on in your digital life. With the built-in Screen Record feature on Mac devices, recording footage of whatever’s happening on your computer is easy. However, if you’re looking to take it a step further, there are plenty of third-party apps you can use to screen record with advanced features and options.
These third-party apps allow users to capture high quality video recordings of their screens along with adding additional layers such as sound or narration. Whether you’re trying to document something for work, create tutorial videos or just have fun doing it, these third-party programs can help make your videos stand out from the competition. Some also come with editing features so that you can trim down recordings and organize them into projects before uploading anywhere. The extra control these apps provide makes creating interesting video content easier than ever before.


You must be logged in to post a comment.