
How to format a USB drive on a MacBook
How to format a USB drive on a MacBook
Formatting a USB drive on your MacBook can be essential for various tasks, from creating a bootable installer to ensuring compatibility with macOS. This guide will walk you through the steps to format a USB drive with ease.”
What precautions should I take before formatting a USB drive?
Before formatting a USB drive, it’s important to take a few precautions to ensure you don’t lose any important data. Prioritize backing up important files or documents stored on the USB drive. You can do this by copying the files to your computer’s hard drive or using a backup service like Time Machine. This step is crucial because formatting erases all data on the drive, and once the process is complete, it cannot be undone.
Additionally, double-check that you’ve selected the correct USB drive for formatting. Mistakenly formatting the wrong drive can result in the loss of important data. Take a moment to confirm the device you’re formatting is indeed the USB drive you intend to format. It’s also advisable to remove any other external drives or USB devices to avoid accidental formatting of the wrong storage device. By taking these precautions, you’ll help ensure that your data remains safe during the formatting process.
Instructions on how to format a USB drive on a MacBook.
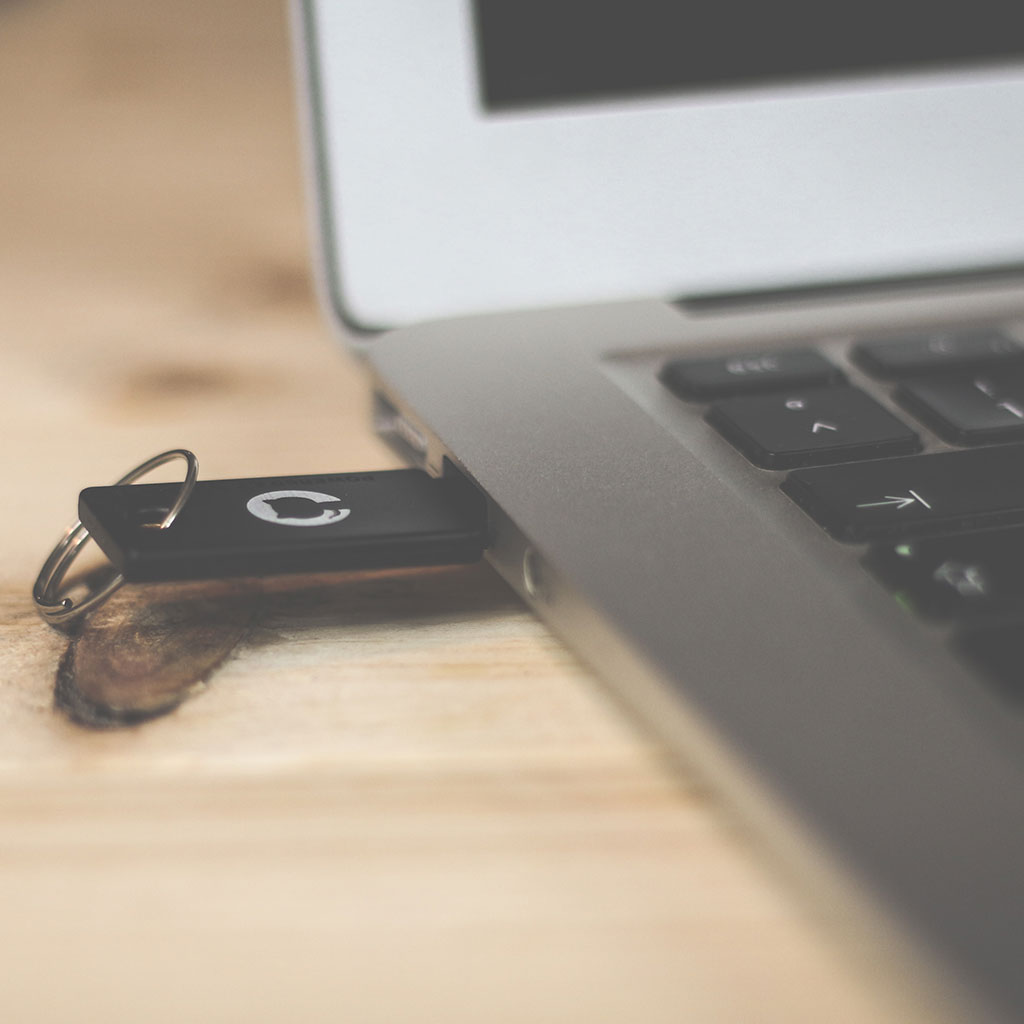
To format a USB drive on a MacBook, follow these steps:
- Insert the USB Drive: Begin by connecting the USB drive to your MacBook. Make sure it’s securely plugged in.
- Open Disk Utility: Navigate to “Applications” > “Utilities” and launch “Disk Utility.”
- Select the USB Drive: On the left sidebar of Disk Utility, you’ll see a list of drives and volumes. Locate your USB drive and select it. Be careful to select the correct drive, as formatting will erase all data.
- Erase the Drive: Click on the “Erase” button in the Disk Utility toolbar.
- Configure Format and Scheme: A window will appear where you can set the format and scheme for the drive. Choose a format based on your needs:
- Mac OS Extended (Journaled): This format is suitable for use with macOS only.
- APFS (Apple File System): Ideal for SSDs and newer macOS versions.
- ExFAT: Compatible with both Mac and Windows systems.
- MS-DOS (FAT): Best for compatibility with Windows.
Select a scheme (usually “GUID Partition Map” for Intel Macs or “Apple Partition Map” for older PowerPC Macs).
- Name the Drive: Give your drive a name in the “Name” field. This is how the drive will appear on your desktop.
- Start the Erase Process: Double-check that you’ve selected the correct drive and settings. Then, click “Erase.” You’ll be prompted to confirm the action. Once confirmed, Disk Utility will start the formatting process.
- Wait for Completion: The time it takes to format depends on the size and speed of the drive. Once completed, Disk Utility will notify you.
- Eject the Drive: After formatting, make sure to properly eject the drive before removing it.
Your USB drive is now formatted and ready for use according to the selected format and scheme. Remember that formatting permanently erases all data, so be sure to back up any important files before proceeding.
How long does the formatting process usually take for different sizes of USB drives?
The duration of the formatting process for a USB drive depends on several factors, including the size and type of the drive, the speed of the computer’s processor, and the selected format option. For smaller USB drives with capacities of up to 32GB, the formatting process generally takes a matter of seconds to a few minutes. These drives have less storage space, so the process is relatively quick.
On the other hand, larger USB drives, especially those with capacities of 128GB or higher, can take longer to format. The process might extend from several minutes to over half an hour, depending on various factors. If you’re performing a thorough format that checks for and repairs bad sectors, it might take longer. It’s important to note that the speed of the USB port on your computer can also influence the formatting time. For instance, USB 3.0 ports generally provide faster data transfer rates compared to USB 2.0 ports, which can result in quicker formatting times for compatible drives.

Copyright © OurDeal. All right reserved.

You must be logged in to post a comment.