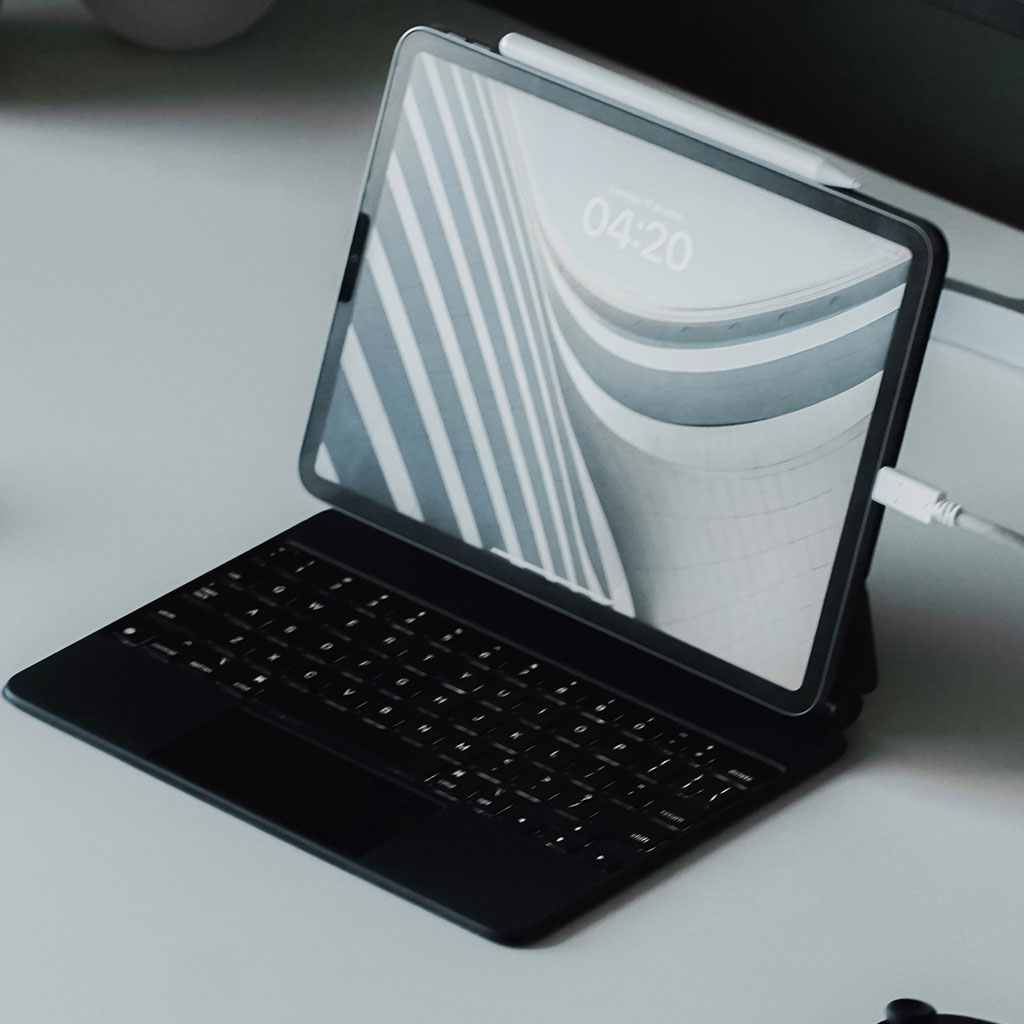
How to delete search history from iPad
How to delete search history from iPad
Protecting your privacy is essential, and that includes regularly clearing your search history on your iPad. In this guide, we’ll walk you through simple steps to delete your search history, ensuring your browsing habits remain confidential.
Why is it important to clear search history on an iPad?
Clearing search history on an iPad is important for several key reasons. Firstly, it enhances privacy and security. When search history accumulates over time, it provides a detailed record of your browsing habits, potentially containing sensitive information. Clearing it ensures that this data doesn’t fall into the wrong hands, particularly if you share your device or it’s accessed by others. Additionally, using private mode or incognito mode can help keep your browsing habits confidential during a session, but it’s important to remember that this mode only prevents the device from storing your history for that specific session. Clearing the entire search history through the device’s settings is essential for maintaining long-term privacy, as it removes any trace of your browsing activity.
Moreover, regularly clearing your search history can help optimize your device’s performance. As history accumulates, it takes up storage space and can potentially slow down your browser. By periodically cleaning out this data, you free up valuable resources, leading to smoother and more efficient browsing. It’s also a matter of choice and control. By managing your history settings, you have the ability to curate what information is stored and what is erased, allowing you to customize your browsing experience according to your preferences. Overall, taking the time to clear search history on an iPad on a regular basis is a proactive step towards safeguarding your privacy, optimizing your device’s performance, and having more control over your online presence.
Discover the ultimate secret to erasing your iPad’s search history!
Clearing your search history on your iPad is a straightforward process. Here’s a step-by-step guide:
- Open Safari:
- Launch the Safari browser on your iPad.
- Access Settings:
- Click on the “Book” icon located at the upper left corner of the screen. This icon represents your bookmarks.
- Find Clear History Option:
- Scroll down and find “Clear History and Website Data.” It’s usually located near the bottom of the list.
- Confirm Clearing History:
- Tap on “Clear History and Website Data,” and a confirmation dialog box will appear.
- Clear History and Data:
- Confirm by tapping “Clear” in the dialog box. This will erase your entire browsing history, including search terms.
- Verify Clearing Process:
- Return to the Safari browser and tap the “Book” icon again to ensure your history has been cleared.
- In-Private Browsing (Optional):
- To prevent your iPad from storing browsing history in the future, you can use the “Private Browsing” mode. Tap the tab icon at the bottom right corner of Safari, then tap “Private” in the lower-left corner to enable this mode.
- Consider Auto-Clearing History (Optional):
- You can set your iPad to automatically clear browsing history by going to Settings > Safari > Clear History and Website Data > and choosing “After one day,” “After one week,” or “After one month.”
Remember, while clearing your search history enhances privacy, it won’t remove data saved on other devices or accounts (like your Google or iCloud account). For comprehensive privacy, consider adjusting settings in those accounts as well. Regularly clearing your search history ensures that your browsing habits remain confidential and helps maintain a clutter-free browsing experience on your iPad.


You must be logged in to post a comment.