
How to connect a MacBook to monitor
How to connect a MacBook to monitor
Learn the step-by-step process of connecting your MacBook to an external monitor for an extended and enhanced visual workspace. Discover various connectivity options and optimize your multitasking and productivity.
Unlock the magic of connecting your MacBook to a stunning monitor!
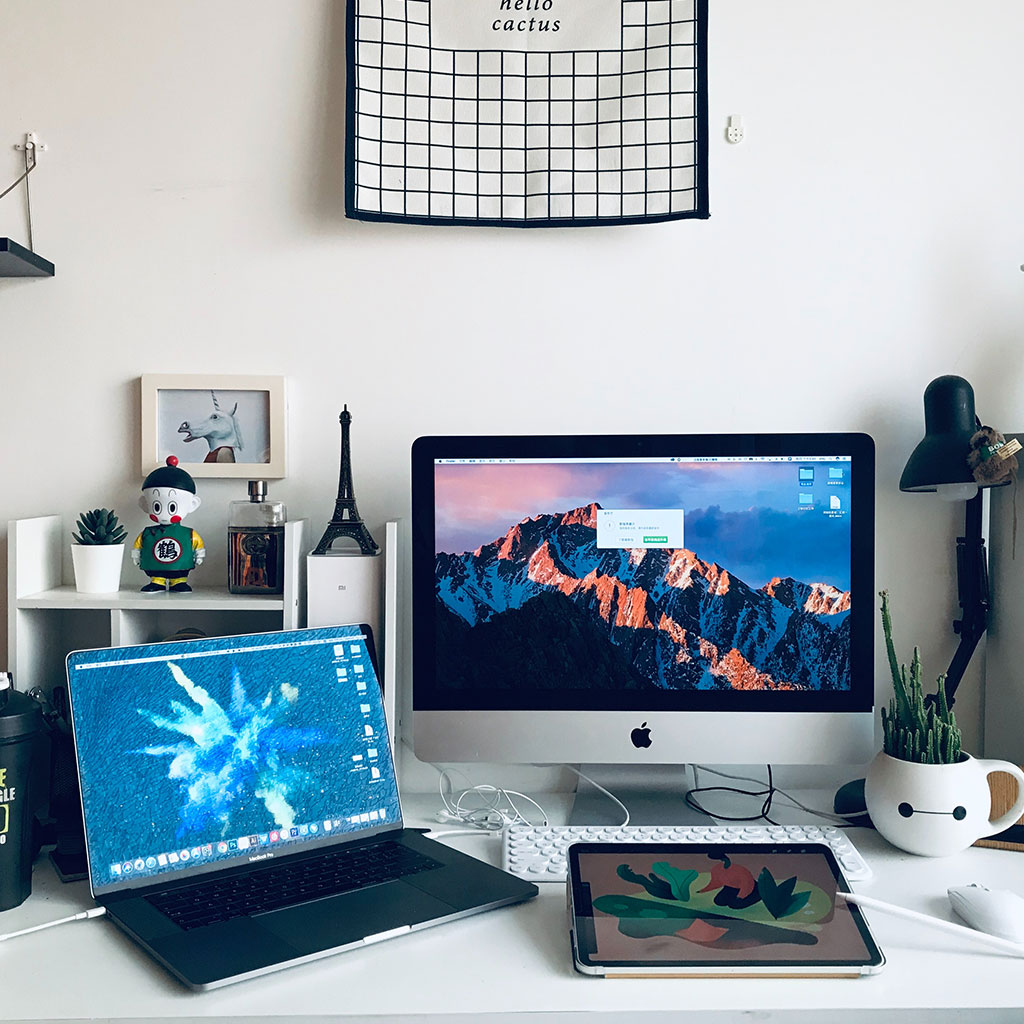
Unleash the power of productivity and expand your creative realm by effortlessly connecting your MacBook to an external monitor, unlocking a whole new world of possibilities and an immersive extended workspace. Whether you’re looking to work on a larger screen, multitask more efficiently, or simply enjoy better visual clarity, here’s a detailed guide on how to connect your MacBook to a monitor:
1. Choose the Right Cable or Adapter: The type of cable or adapter you’ll need depends on your MacBook’s model and the ports available on the monitor. Common options include USB-C to HDMI, USB-C to DisplayPort, or Thunderbolt 3 cables. Make sure to use high-quality cables or adapters to ensure a reliable connection.
2. Check Monitor Compatibility: Ensure that your monitor is compatible with your MacBook’s output specifications. Check the monitor’s resolution, refresh rate, and supported connection types. This ensures that you can enjoy the best visual experience without compatibility issues.
3. Connect the Cable or Adapter: Plug one end of the cable or adapter into your MacBook’s USB-C, Thunderbolt 3, or Mini DisplayPort (depending on your MacBook model), and the other end into the corresponding port on the monitor. Make sure the connections are secure.
4. Configure Display Settings: Once the monitor is connected, your MacBook might automatically detect it and extend the display. To configure display settings manually, go to “Apple menu” > “System Preferences” > “Displays.” Here, you can arrange the displays, adjust resolutions, and set preferences like screen mirroring or extended display.
5. Optimize External Monitor Settings: Some monitors have settings that can be adjusted for optimal performance. Check the monitor’s on-screen menu for options related to brightness, contrast, color balance, and other display preferences.
6. Arrange Workspace: Arrange your workspace based on your preferences. You can extend your MacBook’s display to the external monitor, which provides more screen space for multitasking, or you can mirror the display if you want the same content on both screens.
7. Disconnecting: To disconnect the monitor, make sure to eject it properly from your MacBook’s settings (if applicable). Then, unplug the cable or adapter from both the MacBook and the monitor.
8. Troubleshooting: If you encounter issues, ensure that your cables are properly connected and the monitor is powered on. Restart your MacBook or the monitor if necessary. Update your MacBook’s software and monitor’s firmware for improved compatibility.
Connecting a MacBook to a monitor opens up a world of possibilities for improved productivity, efficient multitasking, and an enhanced visual experience, whether you’re working, designing, coding, or simply enjoying multimedia content.
What cables or adapters are available for connecting a MacBook to a monitor?
There are several types of cables and adapters available for connecting a MacBook to a monitor, each catering to different port configurations and display requirements. The choice of cable or adapter depends on the available ports on both your MacBook and the monitor, as well as the desired display quality and capabilities.
USB-C to HDMI or DisplayPort: USB-C cables are versatile and commonly used for connecting modern MacBooks to monitors. If your monitor has an HDMI or DisplayPort input, you can use a USB-C to HDMI or USB-C to DisplayPort cable. These cables support high-definition video and audio transmission, making them suitable for a variety of tasks such as presentations, multimedia consumption, and general computing.
Thunderbolt 3: Thunderbolt 3 ports, which use the USB-C connector, offer the highest level of compatibility and performance. If both your MacBook and the monitor have Thunderbolt 3 ports, you can use a Thunderbolt 3 cable to achieve fast data transfer speeds and support for multiple displays, high-resolution graphics, and even charging your MacBook.
Mini DisplayPort to HDMI or DisplayPort: Some older MacBook models, especially those released before USB-C became standard, might have a Mini DisplayPort. Unlock the full potential of your monitor with a mesmerizing Mini DisplayPort to HDMI or DisplayPort cable! These cables are suitable for monitors that support these input types and offer decent display quality.
USB-C or Thunderbolt 3 Dock: For users who need more connectivity options beyond video output, USB-C or Thunderbolt 3 docks are an excellent solution. These docks often include multiple USB ports, Ethernet, SD card slots, and more, in addition to video outputs. They can be particularly useful for creating a full workstation setup with multiple peripherals and external displays.
Choosing the right cable or adapter is crucial to ensure a seamless and high-quality connection between your MacBook and the monitor. Before purchasing, confirm the available ports on both devices and the supported resolutions and refresh rates to match your specific needs.
Fixing an External MacBook Monitor
If you’re having trouble getting your external monitor to display with your MacBook, there are a few steps you can take to try and fix the issue. Firstly, ensure that the connecting cords are firmly plugged into both your MacBook and the external monitor’s ports. If they are securely connected, it’s worth trying to unplug them and plug them back in again. Additionally, if you have access to multiple port types of the same kind on either device, try switching which cord is being used in which port.
If these steps fail to work, it may be time for a new cord. Try using a different cable than what came with your MacBook and monitor in order to establish a connection between the two devices. You should also look into straightening out any bends or kinks that might have formed in the original cable over time – these can sometimes prevent signals from travelling properly between devices. With patience and just a few minutes of effort, these simple steps can help ensure that your external monitor will work smoothly with your Macbook!
What steps can be taken to troubleshoot display or connection issues with a monitor?
Encountering issues with a monitor not displaying or experiencing connection problems when connecting it to your MacBook can be frustrating, but there are several troubleshooting steps you can take to resolve the problem:
Check Cable and Connections: Start by verifying that all cables and adapters, such as the HDMI or USB-C cable and the Digital AV Multiport Adapter, are securely connected to both your MacBook and the monitor. Ensure there are no loose connections and that the cables are in good condition. If using a USB-C connection, confirm that the USB-C Multiport Adapter is properly plugged in and recognized.
Monitor Power and Source: Make sure the monitor is powered on and set to the correct input source, such as HDMI or DisplayPort. Use the monitor’s on-screen menu to navigate to the input source selection if needed. On your MacBook, navigate to the “Displays” option in the System Preferences’ Menu Bar to check if the external display is detected. Explore the “Arrangement” tab to ensure that the “Mirror Display Options” or “Arrangement” settings are appropriately configured to extend or mirror the display.
Restart MacBook and Monitor: Sometimes, a simple restart can solve connectivity issues. Power off both your MacBook and the monitor, then turn them back on after a few moments. This might help reset the connection and refresh the display settings.
Update macOS and Drivers: Keep your MacBook’s macOS up to date to ensure compatibility with the monitor. Additionally, consider checking for any available driver updates for your monitor. This can enhance compatibility and performance.
Try Different Ports: If your MacBook has multiple USB-C ports, attempt connecting the monitor to another port. This can help determine if the issue is with a specific port.
Test with Another Device: If possible, connect the monitor to a different device using the same HDMI or USB-C cable to see if it functions correctly. This can help identify whether the issue lies with the monitor or your MacBook.
By methodically troubleshooting these potential problems and considering the terms you provided, you can effectively diagnose and address monitor display and connection issues for an optimal external display experience. If difficulties persist, consider seeking assistance from Apple Support or the monitor manufacturer’s customer service.

Copyright © OurDeal. All right reserved.

You must be logged in to post a comment.