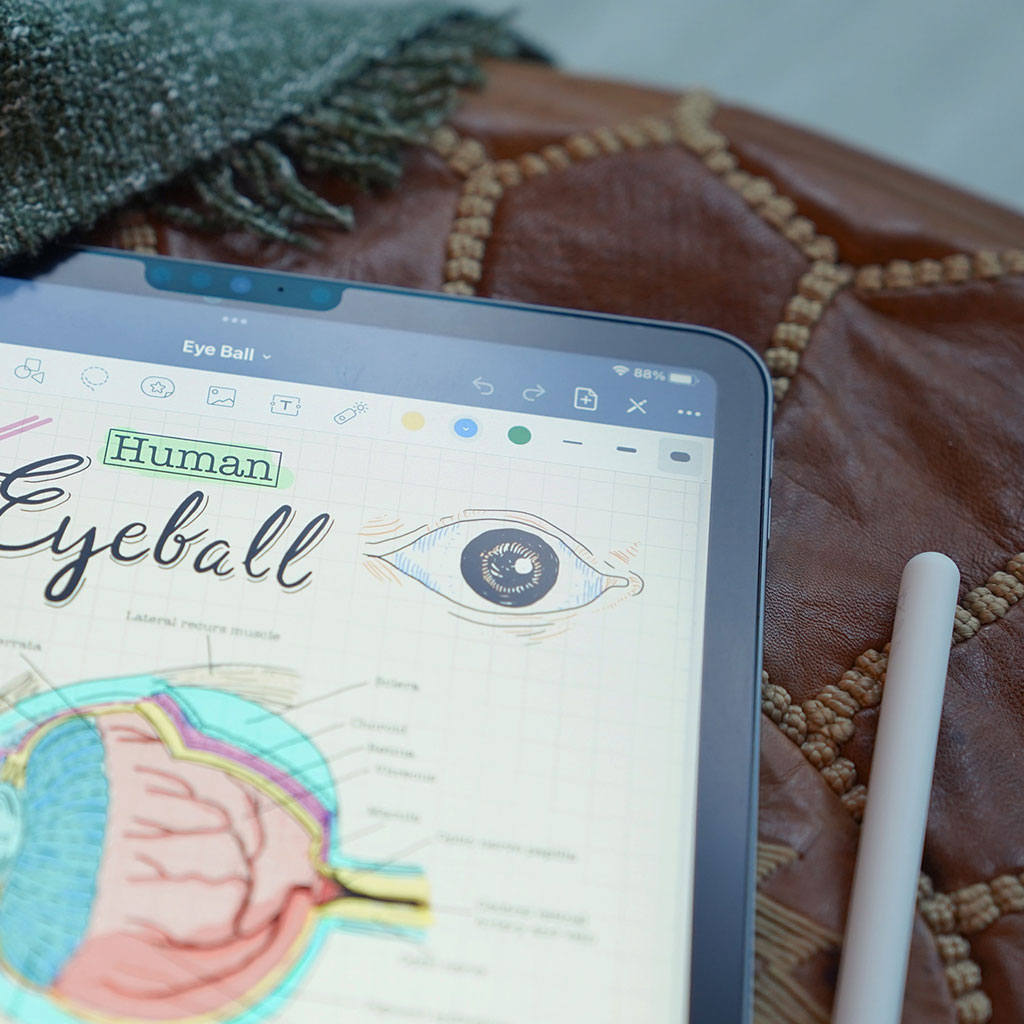
How to take notes on the iPad?
How to take notes on the iPad?
Taking notes on the iPad offers a versatile and intuitive experience, empowering users with various apps and functionalities. Explore the diverse methods and applications available to efficiently create, organize, and enhance your note-taking process on the iPad.
Master the art of note-taking on your iPad!
Taking notes on an iPad is a versatile and intuitive process, offering multiple methods and applications tailored to suit different preferences and needs. Here’s a detailed guide on how to take notes effectively on an iPad:
- Using the Notes App:
- Access the Notes App: Locate and open the pre-installed “Notes” app on your iPad.
- Create a New Note: Tap the icon to create a new note. You can start typing immediately using the on-screen keyboard.
- Formatting Tools: Utilize formatting tools like text styles, lists, headings, and checklists available in the app.
- Adding Media and Attachments: Insert images, sketches, scanned documents, and even links by tapping the respective icons within a note.
- Apple Pencil and Notability:
- Apple Pencil Support: If you have an Apple Pencil, consider apps like Notability that offer handwriting and drawing support.
- Handwritten Notes: Use the Apple Pencil to write, draw, or annotate directly onto the iPad screen, providing a more natural note-taking experience.
- Third-Party Note-Taking Apps:
- Evernote, OneNote, or GoodNotes: These apps offer additional features like cross-platform syncing, advanced organization, and multimedia support.
- Customization: Explore apps that allow customized templates, different paper styles, and a variety of pen options for personalized note-taking experiences.
- Utilizing iPadOS Features:
- Multitasking: Leverage split-screen or slide-over features to take notes while simultaneously referencing other apps or content.
- Drag and Drop: Easily move text, images, or files from one app to another using the drag-and-drop functionality.
- Dictation and Voice Memos:
- Siri and Dictation: Use Siri to dictate notes verbally, and iPadOS will convert speech to text in the Notes app or other compatible note-taking applications.
- Voice Memos App: Capture ideas quickly by recording voice memos that can be transcribed or attached to notes for reference.
- Organization and Syncing:
- Folder Management: Organize notes into folders or categories for easy navigation and retrieval.
- Sync Across Devices: Ensure iCloud sync is enabled to access notes seamlessly across multiple Apple devices like iPhone, Mac, or even on the web via iCloud.com.
- Security and Privacy:
- Passcode or Face ID: Protect sensitive notes by setting up a passcode or utilizing Face ID/Touch ID within the Notes app.
- End-to-End Encryption: Consider apps that offer robust encryption for securing confidential information.
Taking notes on an iPad is a dynamic process with various methods and applications catering to different user preferences, ensuring a versatile and efficient note-taking experience. Explore these options to find the one that best suits your needs for productivity and organization.
What is the most effective method for taking notes, paper or iPad?
When it comes to taking notes, the debate of paper versus iPad is split. On one hand, paper notebooks can feel more intimate to write in and may help with retention of information better than using an iPad. However, paper notebooks are prone to being misplaced or lost regularly, whereas digital notes on your iPad offer convenience since they are always accessible no matter where you are.
Making the switch from a notebook to an iPad can be challenging as well; transitioning to a new tool takes time and practice. With the right apps for note-taking as well as internal organization that suits your needs, taking notes on an iPad can be just as effective as writing them down the traditional way. Whether it’s on paper or your device, finding the technology that works best for you will help in retaining information better for long term success.


You must be logged in to post a comment.