
How to remove hard drive from iMac 2009?
How to remove hard drive from iMac 2009?
Discover the steps required to safely remove the hard drive from an iMac 2009 model, enabling upgrades or replacements for enhanced storage or performance in this comprehensive guide.
Unleash the power of your iMac 2009 by safely extracting its hard drive!
Removing the hard drive from an iMac 2009 involves several steps and careful handling to ensure the process is carried out safely and effectively. Here’s a comprehensive guide, but please note that working with hardware components of electronic devices like the iMac requires caution, and it’s advisable to seek professional assistance if unsure:
- Preparation and Safety Measures:
- Power off the iMac and disconnect all cables and peripherals.
- Place a soft, clean cloth or towel on a flat surface to lay the iMac face down, preventing scratches on the display.
- Utilize an anti-static wrist strap to ground yourself and prevent any static discharge that could harm internal components.
- Tools Required:
- Essential tools include a Phillips screwdriver (sizes #2 and #4), a Torx T8 screwdriver, and a plastic spudger or opening tool for prying.
- Accessing the Back Panel:
- Flip the iMac face down and remove the screws from the bottom edge of the casing, allowing access to internal components.
- Carefully unscrew the screws around the edges of the bottom panel, avoiding damage to the casing.
- Removing the Display:
- The display might need removal to access the hard drive. Some models have magnetic or clip-on displays. Use suction cups to lift it gently.
- For adhesive displays, use a heat gun or hairdryer to soften the adhesive and carefully pry the display off.
- Locating and Removing the Hard Drive Bracket:
- Identify the hard drive and its bracket secured by screws. Unscrew and remove the bracket.
- Disconnect the SATA data cable and power connector attached to the hard drive, ensuring gentle handling to prevent damage.
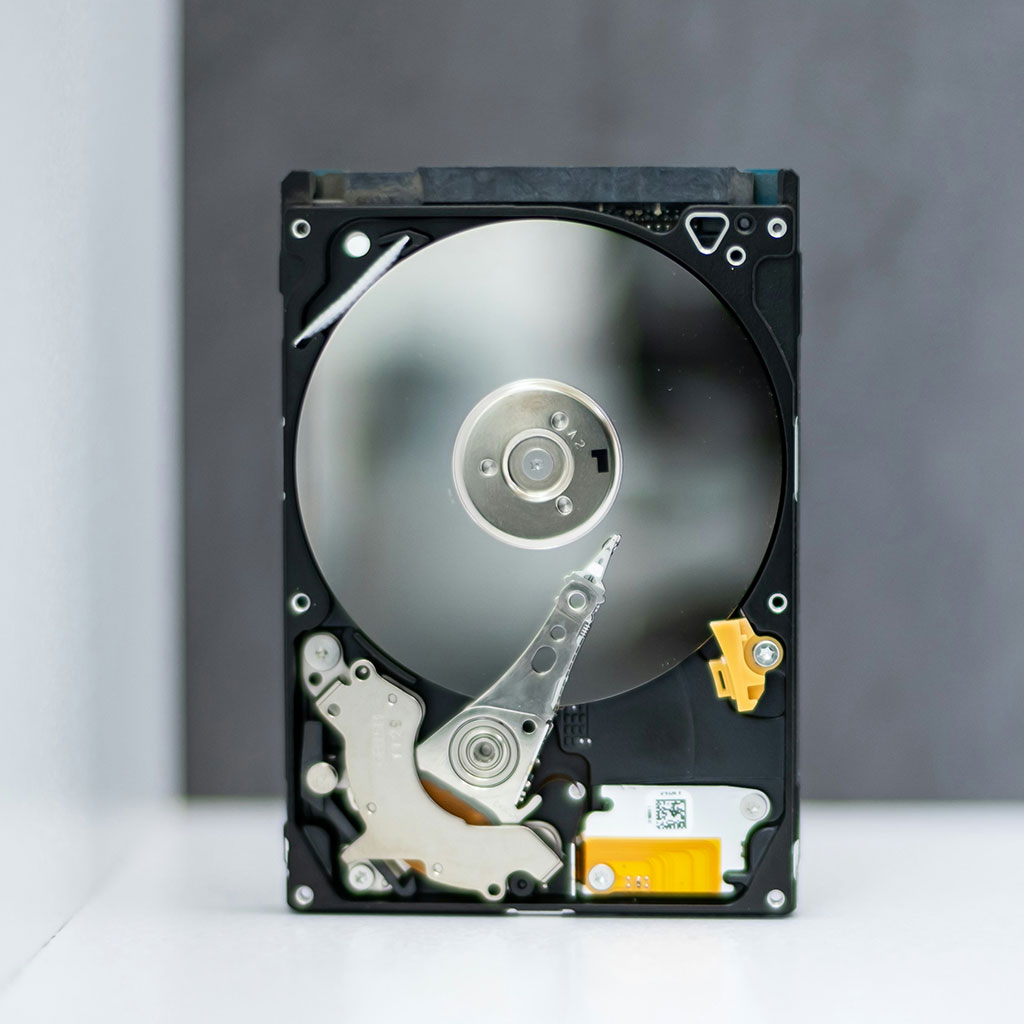
- Removing the Hard Drive:
- Once the bracket and cables are detached, slide out the hard drive from its slot, handling it by the edges without applying excessive force.
- Check for any brackets or mounting systems securing the hard drive in place and remove them cautiously.
- Replacing or Upgrading the Hard Drive:
- If replacing, install the new drive carefully, reconnecting the SATA data cable and power connector securely.
- Place the new hard drive into the slot, reattach the bracket, and carefully screw it back into place.
- Reassembling and Testing:
- After the replacement, power on the iMac and verify that the hard drive is detected and functions correctly before closing the casing.
Remember, these steps are general guidelines, and the exact process might differ based on the specific iMac 2009 model. Consulting detailed guides or seeking professional assistance is recommended to avoid accidental damage or warranty voidance.
What are the steps for replacing and securing the new hard drive?
When replacing the hard drive in an iMac 2009, installing the new drive requires precision and attention to detail. After safely removing the original disk, users need to prepare the new storage drive, ensuring it matches the correct specifications, including the appropriate speed, interface, and capacity. A solid-state drive (SSD) or a traditional hard disk drive (HDD) compatible with the iMac’s internal sensors is typically chosen for the replacement. Before installation, it’s crucial to verify the new drive’s compatibility and condition. Handling the new drive with care to avoid any damage from static electricity is imperative.
To install the new drive securely, users must slide it into the drive slot carefully, ensuring a proper fit. It’s essential to reattach the drive thermal sensor, ensuring it maintains contact with the drive’s surface to monitor its temperature. Users should use a flat edge or a non-metallic tool to gently reconnect any cables or brackets removed during the drive replacement process. Once the new drive is in place, users can reassemble the iMac, ensuring that all components, including the power supply connections, are securely reattached. Before closing the casing and reinstalling the glass panel, powering on the iMac to test the new drive’s functionality is vital. Confirming that the power button responds and that the system detects and recognizes the replaced drive helps ensure a successful drive replacement without compromising the internal sensors or causing any issues with the iMac’s operation.

Copyright © OurDeal. All right reserved.

You must be logged in to post a comment.