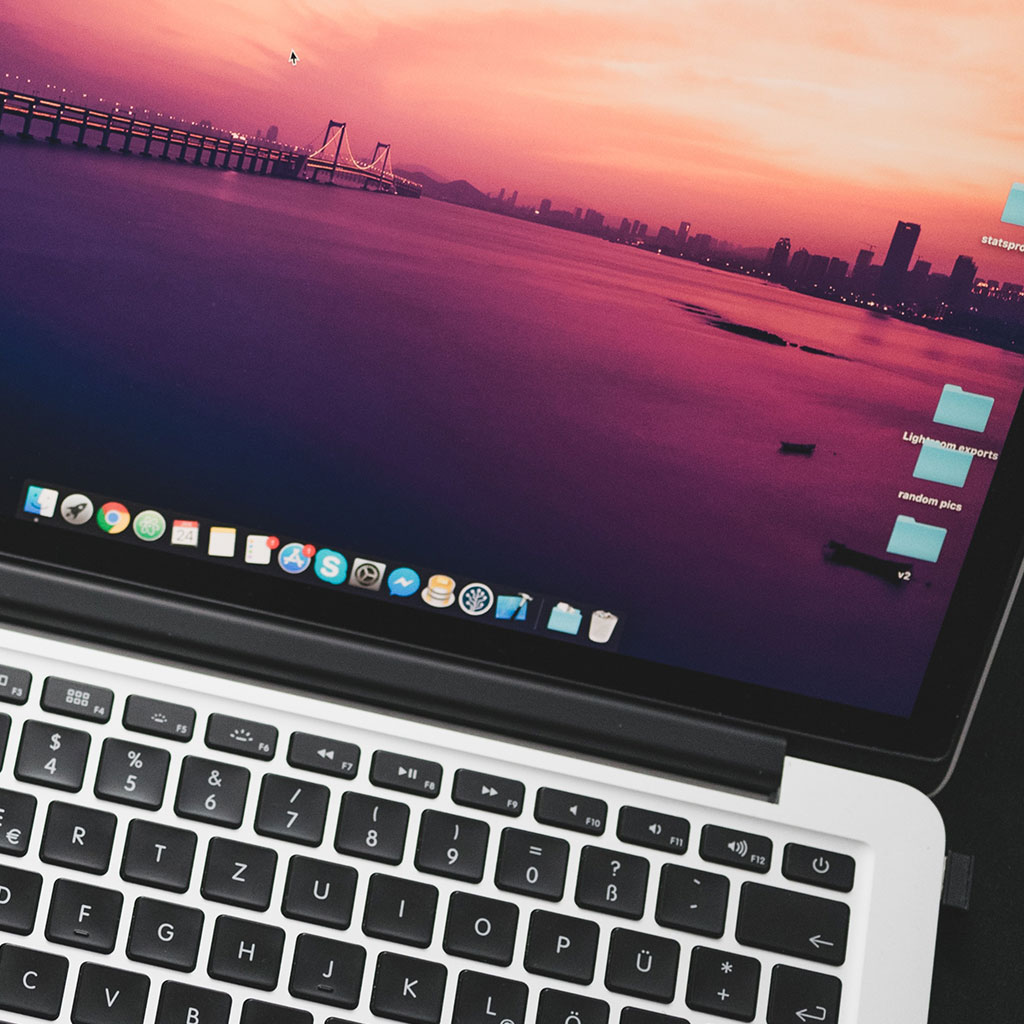
How do I delete files on my MacBook?
How do I delete files on my MacBook?
Discover simple methods to efficiently delete files on your MacBook and effectively manage your storage space with ease in this quick guide.
Discover the secret to effortlessly deleting files on your MacBook!
Deleting files on a MacBook can be done in several ways, depending on the files and your preferred method:
Using Finder:
- Select and Delete:
- Open Finder and navigate to the folder or location where the files are stored.
- Select the file(s) you want to delete by clicking once to highlight them.
- Press the “Delete” key on your keyboard or right-click and select “Move to Bin” or “Move to Trash.” Alternatively, use the “Command + Delete” ( ⌘ + Delete ) shortcut to move items to Trash.
- Empty Trash:
- To permanently delete files, open the Trash by clicking its icon in the Dock.
- Right-click on the files in the Trash and select “Delete Immediately,” or choose “Empty Trash” to remove all contents permanently.
- Confirm the action when prompted to permanently delete the selected files.
Using Applications:
- Using Applications’ Delete Function:
- Some applications allow deleting files within their interface. For instance, in Photos, select an image and press “Command + Delete” ( ⌘ + Delete ) or use the “Delete” option in the menu to remove it.
Deleting from Desktop:
- From Desktop:
- Items stored on the desktop can be deleted similarly. Click once on the file(s) and press “Command + Delete” or drag them to the Trash.
Using Storage Management:
- Storage Management:
- Go to Apple Menu > About This Mac > Storage > Manage.
- Use the various options like “Reduce Clutter,” “Review Files,” or “Empty Bin” to delete unused or large files, clean up space, and manage storage effectively.
Using Terminal (Advanced):
- Terminal:
- For advanced users, Terminal commands like “rm” can delete files. Use it cautiously as there’s no confirmation, and deleted files are gone immediately.
iCloud Files:
- iCloud Files:
- To delete files from iCloud, access iCloud Drive online or through Finder and delete items there.
Remember, files moved to Trash occupy space until you empty the Trash. Deleting files permanently removes them, so ensure you don’t need the files before permanently deleting. Additionally, be cautious with Terminal commands to avoid unintentional data loss.
How can users permanently delete files from a MacBook after moving them to the Trash?
Once files are moved to the Trash on a MacBook, ensuring their permanent removal involves emptying the Trash. Users can do this by accessing the Trash icon in the Dock or Finder. Clicking on the Trash icon opens the contents of the Trash, displaying the files scheduled for deletion. From the Finder’s menu bar, users can choose the “File” menu and then “Empty Trash” to permanently delete these unwanted files. Alternatively, right-clicking on the Trash icon offers an “Empty Trash” option for quick deletion. It’s essential to note that once files are emptied from the Trash, they’re considered permanently deleted from the MacBook’s storage. However, this deletion is not irreversible, and immediate caution should be exercised, especially for sensitive files, as macOS doesn’t provide a warning message or a confirmation prompt before permanently erasing the contents.
For users concerned about permanently deleting specific files while retaining others in the Trash, an individual file or folder can be permanently deleted by right-clicking on it within the Trash and selecting “Delete Immediately” or “Empty Bin.” Moreover, for files that are locked or in use by an application, macOS might prevent their deletion. To free up disk space and ensure the permanent removal of unnecessary or duplicate files, users should regularly review their storage settings. By navigating to the Apple menu > About This Mac > Storage, users can manage their files, identify duplicate or unnecessary data, and regain disk space. As MacBook storage is finite, regularly clearing temporary files and eliminating unnecessary items is vital to optimize available space and prevent clutter within the file system.
Do specific applications on a MacBook offer their own methods for deleting files within their interfaces?
Yes, many applications on a MacBook provide users with specific methods to delete files directly within their interfaces, offering convenience and efficiency for managing unwanted or unnecessary files. Applications like Finder, Photos, and other productivity tools often feature built-in options for file deletion. In Finder, users can delete files by selecting them and using the “Move to Trash” option from the context menu or the “File” menu’s “Move to Bin” command. Similarly, applications like Photos allow users to delete unwanted images by selecting them and using the “Delete” button or the “Command + Delete” shortcut, providing a seamless method to remove unwanted files directly from the application’s interface.
Furthermore, some applications offer functionalities for managing duplicate files or identifying unnecessary data, streamlining the deletion process. These features enable users to pinpoint duplicate or redundant files and remove them efficiently. For instance, in productivity applications, users can utilize features within the app’s interface to review and delete unnecessary or duplicate files, reducing clutter and optimizing disk space usage. However, it’s crucial to exercise caution, especially when dealing with sensitive files, as deletion actions performed within application interfaces might bypass the Trash or Bin, resulting in permanent deletion without a warning message. Therefore, users should remain attentive and consider backing up sensitive data before utilizing application-specific deletion methods to prevent accidental loss of essential files within the file system.


You must be logged in to post a comment.