- Massive Savings on Apple Refurbished items
- Get up to 75% Off
- Fast and Free UK Delivery
Call Sales: (0116) 326 3140 | Contact Sales | Contact Support
£0.00
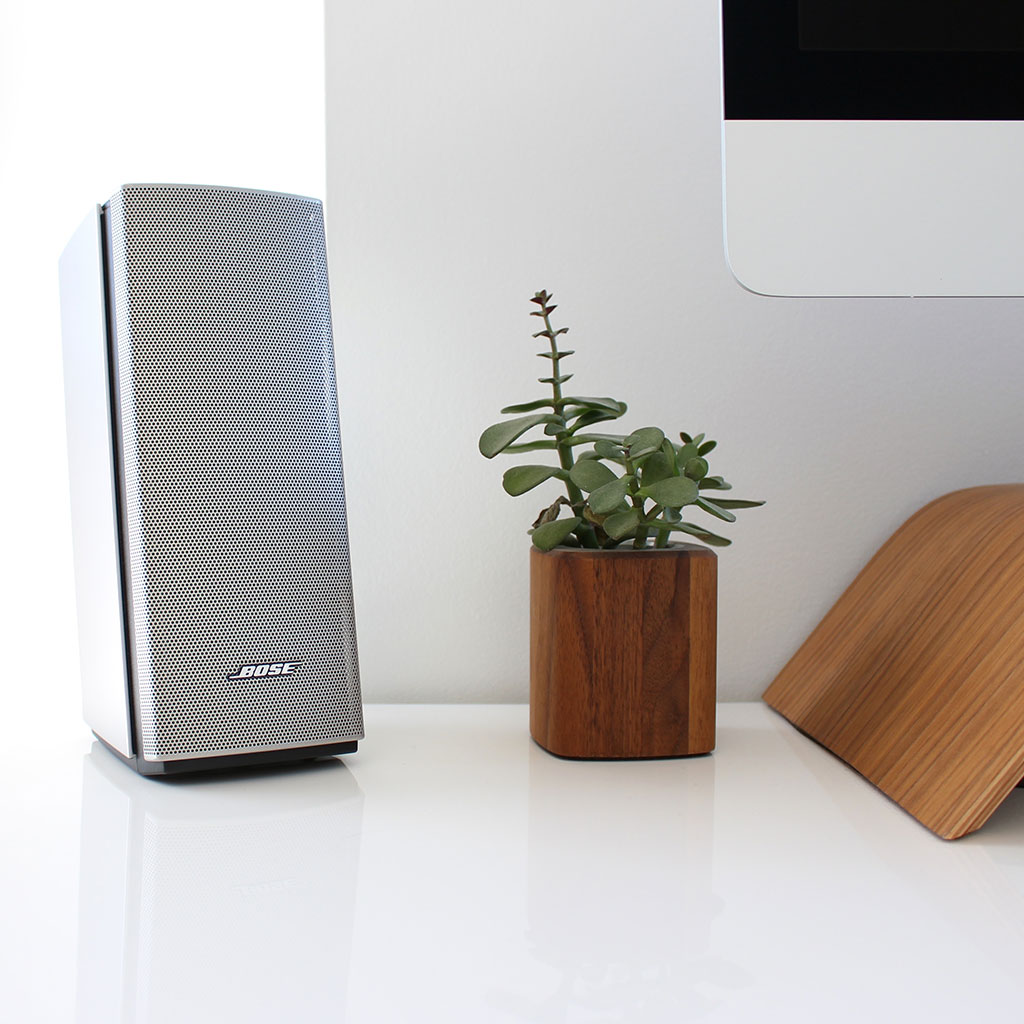
Blog Elevate your audio experience on your iMac by effortlessly pairing a Bluetooth speaker. This step-by-step guide provides easy instructions for a hassle-free connection, ensuring you can enjoy your favorite audio, movies, and more with exceptional sound quality. Unleash the power of your iMac and connect it to a Bluetooth speaker! Here’s a detailed guide
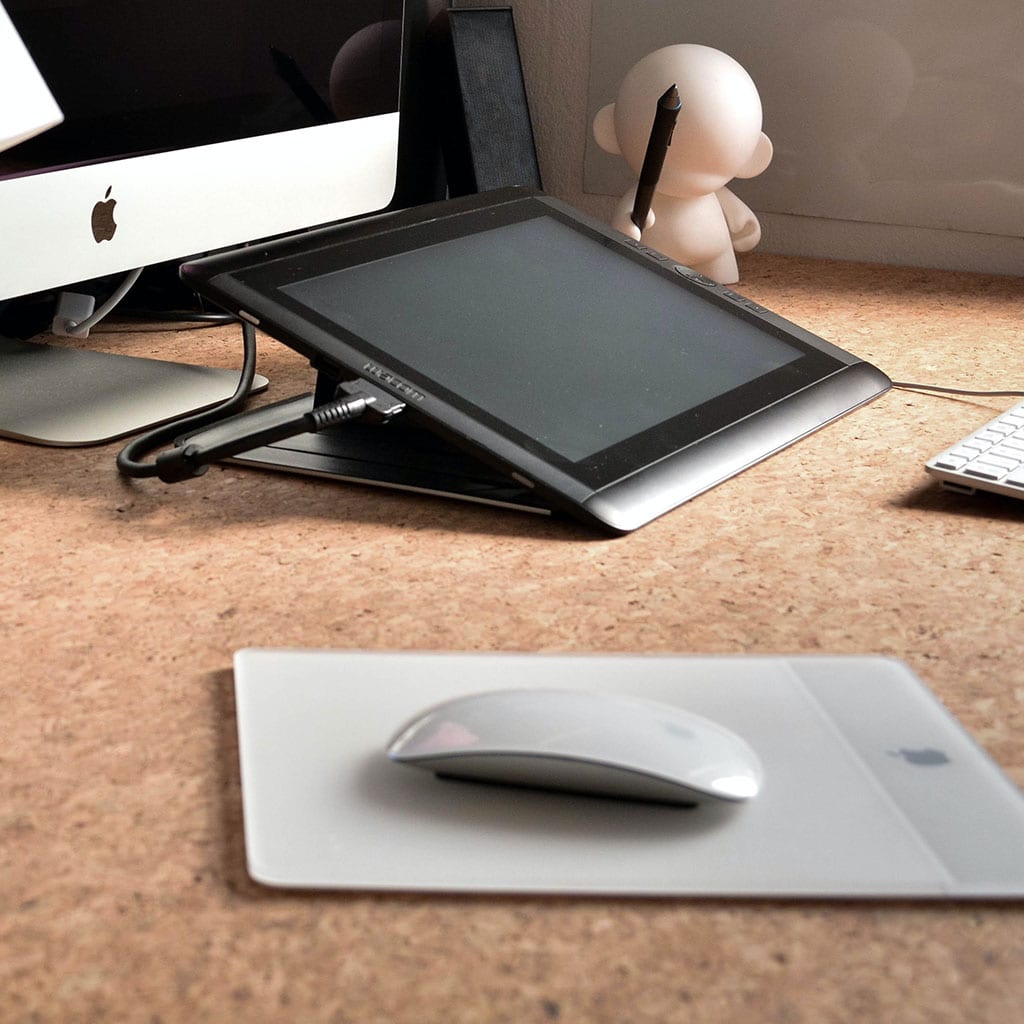
Blog Enhance your iMac experience by seamlessly connecting a Bluetooth mouse. This step-by-step guide provides easy instructions for a hassle-free connection, ensuring smooth and precise cursor control for your tasks and projects. Master the art of pairing your Bluetooth mouse with your trusty iMac! Here’s a detailed guide on how to connect a Bluetooth mouse
Blog Elevate your typing experience on your iMac by effortlessly pairing a Bluetooth keyboard. This step-by-step guide provides easy instructions for a hassle-free connection, ensuring you can work and communicate with convenience and style. Connect your iMac to a Bluetooth keyboard effortlessly! Here’s a detailed guide on how to connect a Bluetooth keyboard to your
Blog Elevate your audio experience on your iMac by effortlessly pairing Bluetooth headphones. This guide provides easy-to-follow steps for a hassle-free connection, ensuring you can enjoy your favorite audio and videos wirelessly. Pair Bluetooth headphones with iMac Certainly! Here’s a detailed guide on how to connect Bluetooth headphones to your iMac: Enable Bluetooth on iMac:
Blog Learn the simple steps to seamlessly transfer your cherished photos from your iPad to your PC. Whether you’re freeing up storage or preparing for editing, this guide will walk you through the process for a hassle-free experience. Transfer your iPad photos to your PC easily! Certainly! Here’s a detailed guide on how to transfer
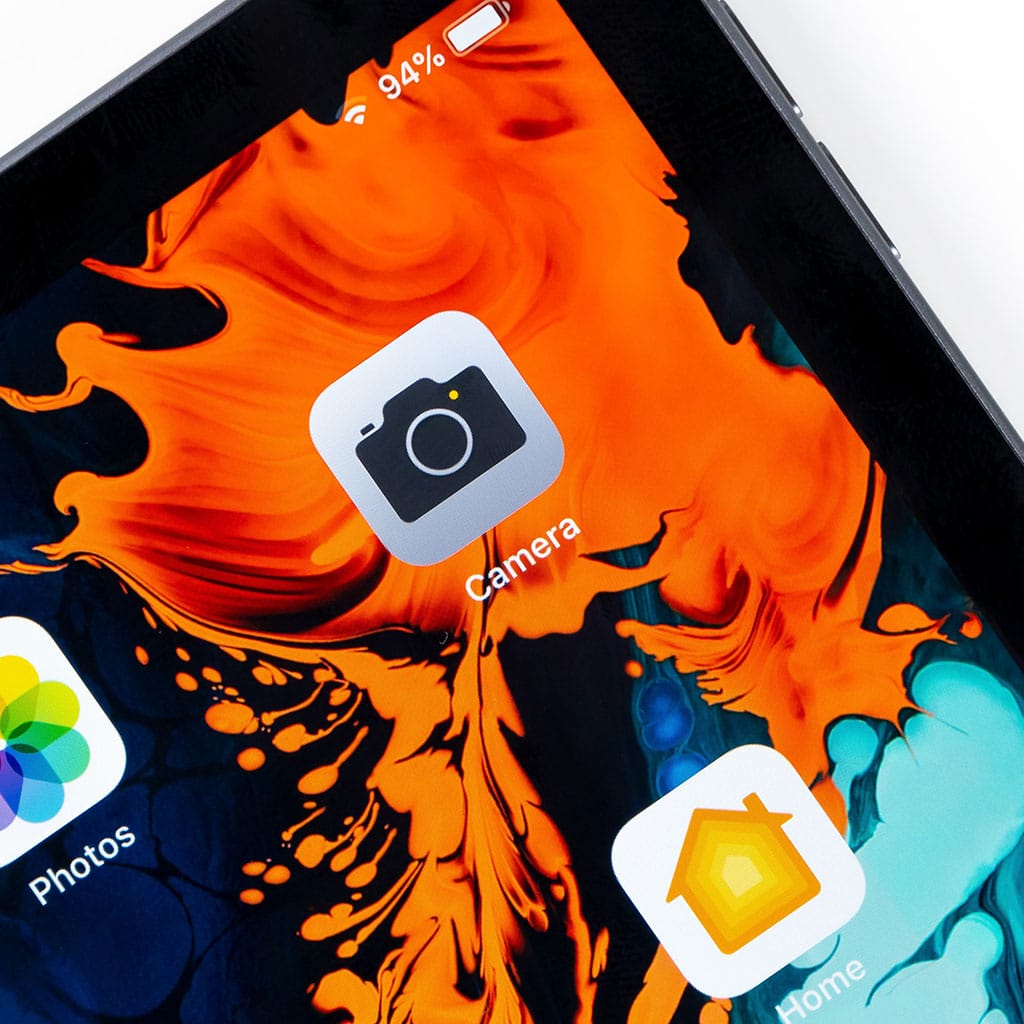
Blog Unleash the photography potential of your iPad with these simple steps to snap stunning photos. Whether you’re capturing landscapes or candid moments, this guide will walk you through the process, ensuring you get the perfect shot every time. Capture stunning photos on your iPad like a pro! Certainly! Here’s a detailed guide on how
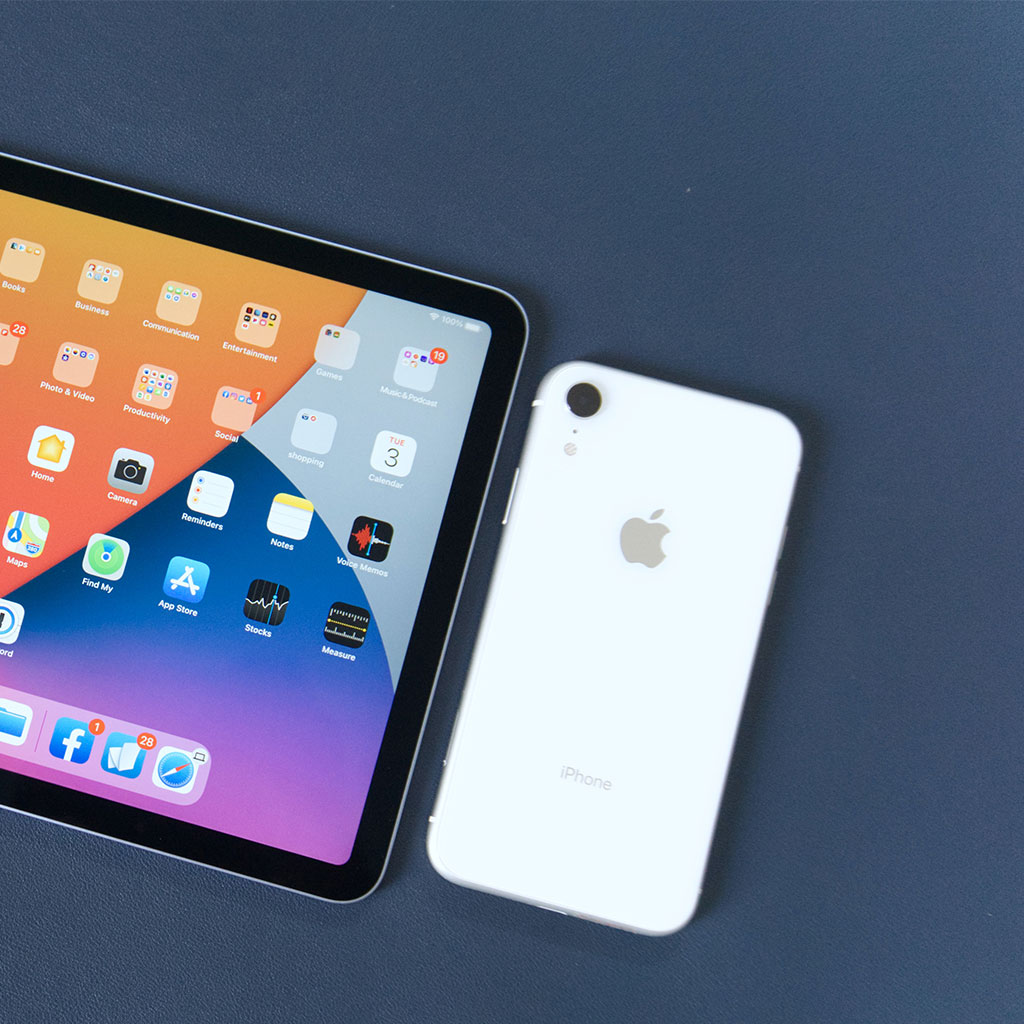
Blog Discover the hassle-free way to keep your iMessage conversations in sync between your iPhone and iPad. This guide outlines the step-by-step process to ensure you never miss a message, whether you’re on the go or working from your iPad. Unlock the secret to syncing messages from your iPhone to your iPad! Syncing messages from
Blog Keeping your schedules in sync between your iPhone and iPad ensures you’re always up-to-date, whether you’re on the go or working from home. This guide will walk you through the simple steps to seamlessly integrate your calendars, ensuring a unified view of your events and appointments across both devices. Unlock the secret to harmonizing
Blog Synchronize your iPad and iPhone apps effortlessly to enjoy a seamless experience across both devices. This guide will walk you through the simple steps to ensure your favorite applications, data, and preferences stay harmonized, enhancing productivity and convenience in your iOS ecosystem. Discover the ultimate guide to seamlessly syncing your iPad with your iPhone
Blog Signing documents on your iPad has never been more convenient. With the right tools and apps, you can digitally sign contracts, agreements, or any paperwork with ease. In this guide, we’ll walk you through the simple steps to ensure your electronic signature is legally binding and professional. Master the art of signing documents on
Monday – Friday: 9:00-17:30
Saturday: 9:00 – 17:00
Best Categories
- Up to 75% Off Apple Shop now
- Currently Free delivery on all orders


