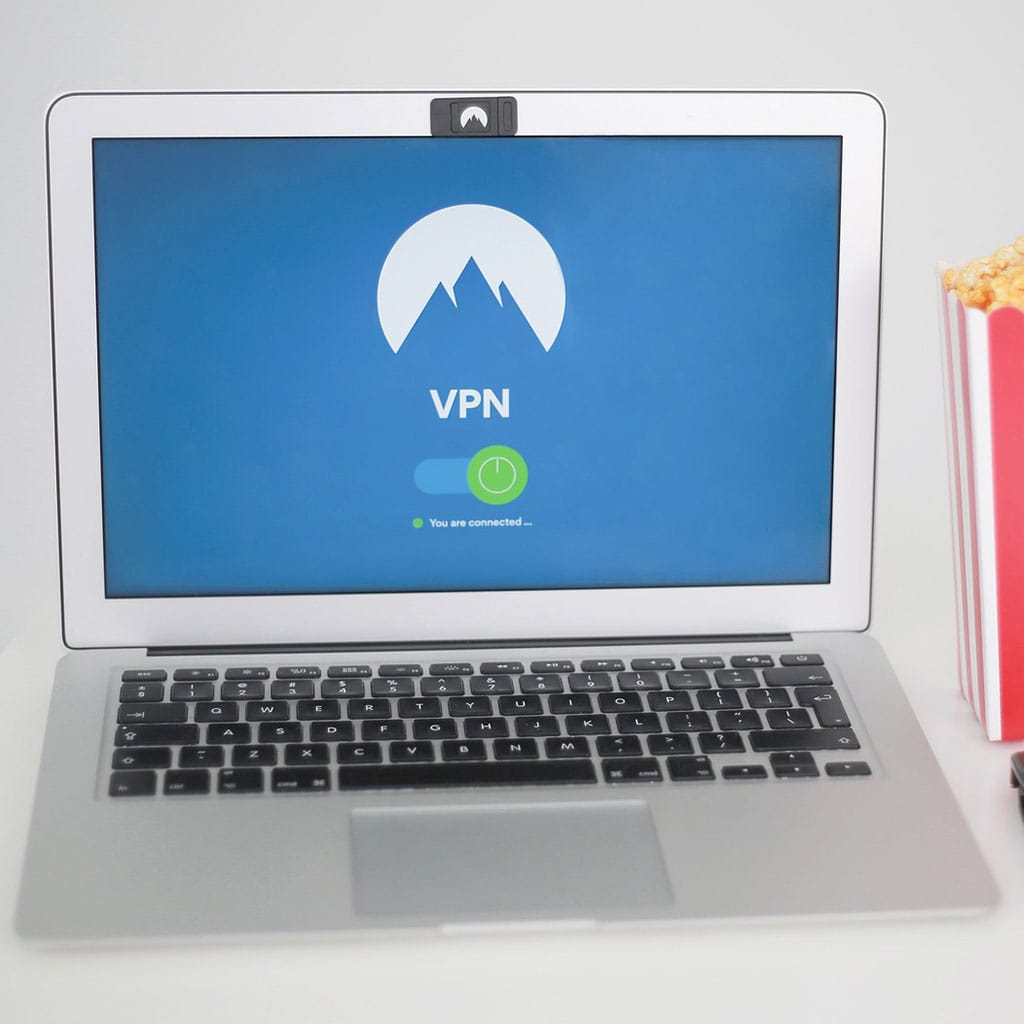
How to connect VPN in MacBook Air?
How to connect VPN in MacBook Air?
In this guide, learn how to easily set up and connect a VPN on your MacBook Air to ensure secure and private internet browsing with just a few straightforward steps.
Unlock the secret to seamless VPN connection on your MacBook Air!
To set up and connect a VPN on your MacBook Air, follow these steps:
- Choose a VPN Service:
- Select a reputable VPN service provider and subscribe to their service. There are various VPN options available, each with its features and subscription plans. Some popular VPN providers include NordVPN, ExpressVPN, and CyberGhost.
- Download and Install VPN Software:
- Visit the VPN provider’s website and log in to your account.
- Download the VPN application compatible with macOS or specifically designed for MacBook Air.
- Once downloaded, open the installer and follow the on-screen instructions to install the VPN software on your MacBook Air.
- Launch and Configure the VPN App:
- Open the installed VPN application on your MacBook Air.
- Log in to your VPN account using the credentials provided by your VPN service provider.
- Upon logging in, you’ll likely have the option to select a server location. Choose a server from the available options. This selection determines the virtual location your MacBook Air will appear to be connected from.
- Connect to the VPN:
- After configuring the VPN settings, click the “Connect” button within the VPN app.
- Once connected, the VPN icon may appear in the menu bar at the top of your MacBook Air’s screen. It usually resembles a small VPN symbol or the logo of your VPN provider.
- Verify Connection and Usage:
- To ensure your connection is secure, visit a website that shows your IP address before and after connecting to the VPN. This will verify that your IP address has changed, indicating successful VPN connection.
- Once connected, all your internet traffic on the MacBook Air will be encrypted and routed through the VPN server, providing you with a secure and private browsing experience.
Remember, these steps might slightly vary depending on the VPN service provider and their specific application. Always refer to your VPN provider’s instructions for the most accurate guidance on setting up their service on your MacBook Air.
What factors should users consider when selecting a VPN service for their MacBook Air?
When choosing a VPN service for their MacBook Air, users should consider several critical factors to ensure optimal protection and functionality for their online activities. Firstly, focus on the VPN’s ability to safeguard online privacy and security. Evaluate the VPN’s encryption protocols and security measures to guarantee that it encrypts internet traffic effectively, shielding sensitive data from unauthorized access. Additionally, consider the VPN’s policy regarding logging user data. Opt for VPN providers with a strict no-logs policy, assuring that they do not store or track users’ online activities, IP addresses, or connection timestamps. This commitment enhances anonymity and ensures a higher level of privacy while browsing the internet.
Furthermore, users should assess the VPN’s server network and server locations. A wide range of server locations across the globe provides users with flexibility in choosing the most suitable server for their needs. Users might consider VPNs that offer servers in regions relevant to their online activities or those that offer specialized servers for specific purposes, such as streaming or gaming. Additionally, examining the VPN’s network settings and compatibility with the MacBook Air is crucial. Ensure that the VPN service seamlessly integrates with the MacBook Air’s network connection and IP settings, allowing for easy configuration and a stable, reliable connection. Conducting thorough research on VPN reviews and user feedback can provide insights into the VPN’s performance and reliability in meeting users’ specific requirements for a private and secure network connection.


You must be logged in to post a comment.