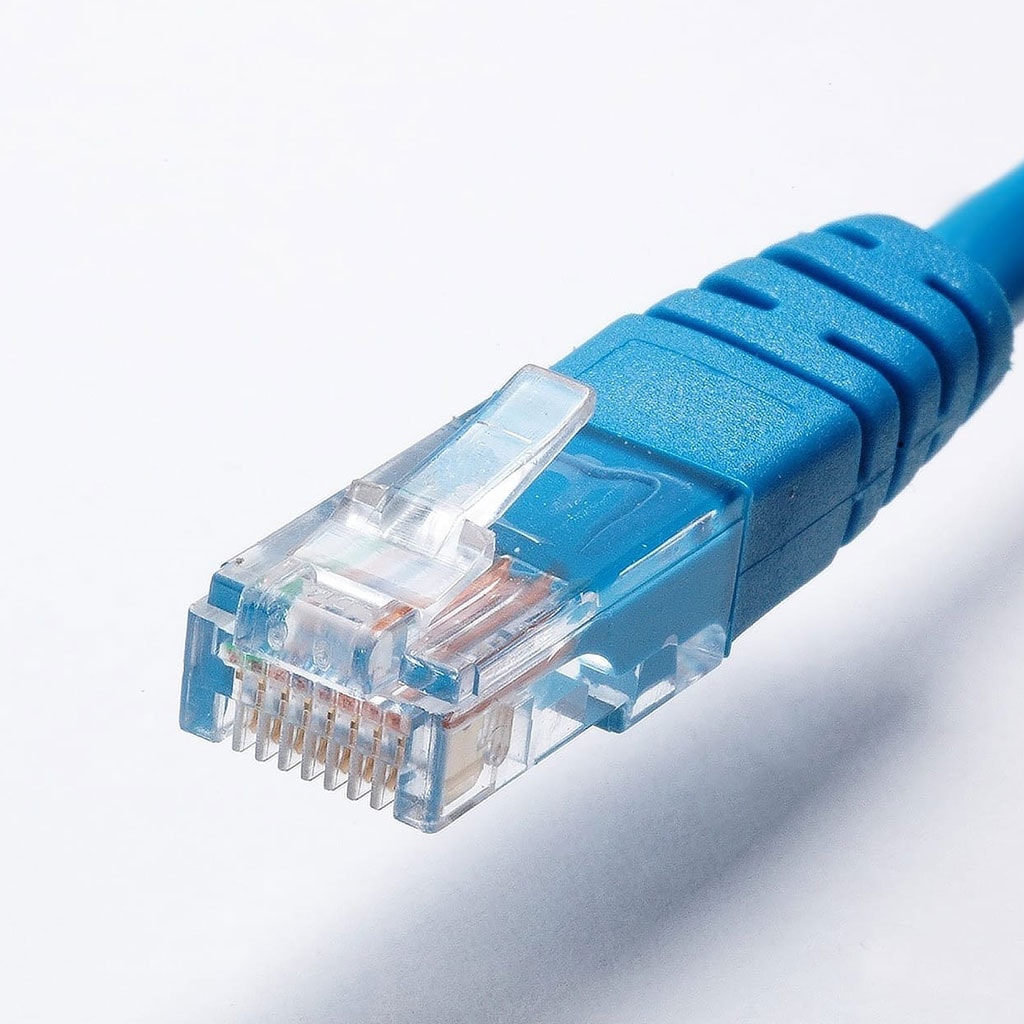
How to connect Ethernet Cable to iMac
How to connect Ethernet Cable to iMac
Connecting an Ethernet cable to your iMac is a straightforward process that can provide a stable and high-speed internet connection. Here’s a guide to help you get started.
Mastering the Art of Ethernet Cable Connection with your iMac
Connecting an Ethernet cable to your iMac is a simple process that can provide a reliable and fast internet connection. Here are the steps to do it:
Materials Needed:
- An Ethernet cable (also known as a network cable or Cat5/Cat6 cable).
- An available Ethernet port on your iMac.
- A working internet connection provided through an Ethernet network or router.
Steps to Connect Ethernet Cable to iMac:
- Prepare the Ethernet Cable: Ensure that you have an Ethernet cable of sufficient length to reach from your iMac to the Ethernet port or router. Make sure the cable is in good condition without any visible damage.
- Locate the Ethernet Port: On your iMac, the Ethernet port is typically found on the back of the computer. It looks like a rectangular opening with a small, square-shaped symbol resembling three horizontal lines.
- Insert the Ethernet Cable: Take one end of the Ethernet cable and carefully insert it into the Ethernet port on your iMac. It should slide in easily but may require a gentle push. When properly inserted, it will click into place.
- Connect the Other End: Take the other end of the Ethernet cable and connect it to the corresponding port on your router, modem, or the wall Ethernet socket. Make sure it is securely plugged in.
- Check the Connection: Once both ends are securely connected, your iMac should detect the Ethernet connection automatically. You’ll see a network icon in the menu bar at the top right of the screen.
- Configure Network Settings (if necessary): In most cases, the iMac will configure network settings automatically. However, if you have specific network configurations or settings, you can access them through “System Preferences” > “Network.”
- Test the Connection: Open a web browser or any online application to confirm that your iMac is now using the Ethernet connection. You should experience faster and more stable internet access.
- Disconnecting: To disconnect the Ethernet cable, simply unplug it from the iMac and the other end from the network source. Your iMac will automatically switch back to a Wi-Fi connection if available.
Connecting your iMac via Ethernet is especially useful for tasks that require a consistent and high-speed internet connection, such as online gaming, video streaming, large file downloads, or if your Wi-Fi signal is weak or unreliable. It’s a reliable way to ensure a steady internet connection for your iMac.
Where should the other end of the Ethernet cable be connected (e.g., router, modem)?
The other end of the Ethernet cable should be connected to a device that provides internet connectivity, such as a router or modem. This device acts as a gateway to your internet service provider (ISP) and allows your iMac to access the internet through a wired connection. Most routers and modems have multiple Ethernet ports, so you can choose any available port to plug in the Ethernet cable. It’s important to ensure that the router or modem is powered on and properly configured for wired connections. If you’re using a newer iMac that lacks a built-in Ethernet port, you may need to use an Ethernet adapter that connects to a Thunderbolt port on your iMac. This adapter serves as a bridge between your iMac and the Ethernet cable, enabling a high-speed wired connection.
Before connecting, ensure that your router or modem is functioning correctly and providing an active internet connection. Once you’ve selected an available port, insert the Ethernet cable securely into it. The cable should click into place, indicating a solid connection. Afterward, your iMac should automatically detect the wired connection and configure its network settings accordingly. In some cases, you might need to manually set up the Ethernet connection, particularly if your network uses specific IP address configurations. This can typically be done in the Ethernet settings of your iMac’s network preferences. Once properly connected, you should have a reliable and high-speed internet connection for your iMac.
Are there any network settings that may need to be configured manually?
Yes, in some cases, you may need to configure network settings manually, especially if your network has specific requirements or if you’re troubleshooting connectivity issues. This can be done through the Ethernet settings on your iMac. One important setting to consider is the IP address. By default, most networks use Dynamic Host Configuration Protocol (DHCP) to automatically assign IP addresses to devices. However, if your network requires a specific static IP address, you’ll need to set it up manually. This involves entering the IP address, subnet mask, router/gateway, and DNS server information. Additionally, you might need to adjust other settings related to the wired connection, such as the MTU (Maximum Transmission Unit) size, depending on your network’s specifications.
Another consideration is configuring the Thunderbolt-to-Ethernet adapter, if you’re using one. Ensure that the adapter is properly recognized by your iMac and that it’s selected as the active network connection. You can do this in the Network preferences of your iMac. Also, make sure that any other network interfaces (such as Wi-Fi) are disabled to avoid conflicts. Keep in mind that some Internet Service Providers (ISPs) have specific requirements for manual configurations, so if you’re experiencing issues, it’s advisable to contact your ISP for guidance. Overall, while most users won’t need to manually configure network settings, it’s a useful option for those in specific network environments or facing connectivity challenges.


You must be logged in to post a comment.