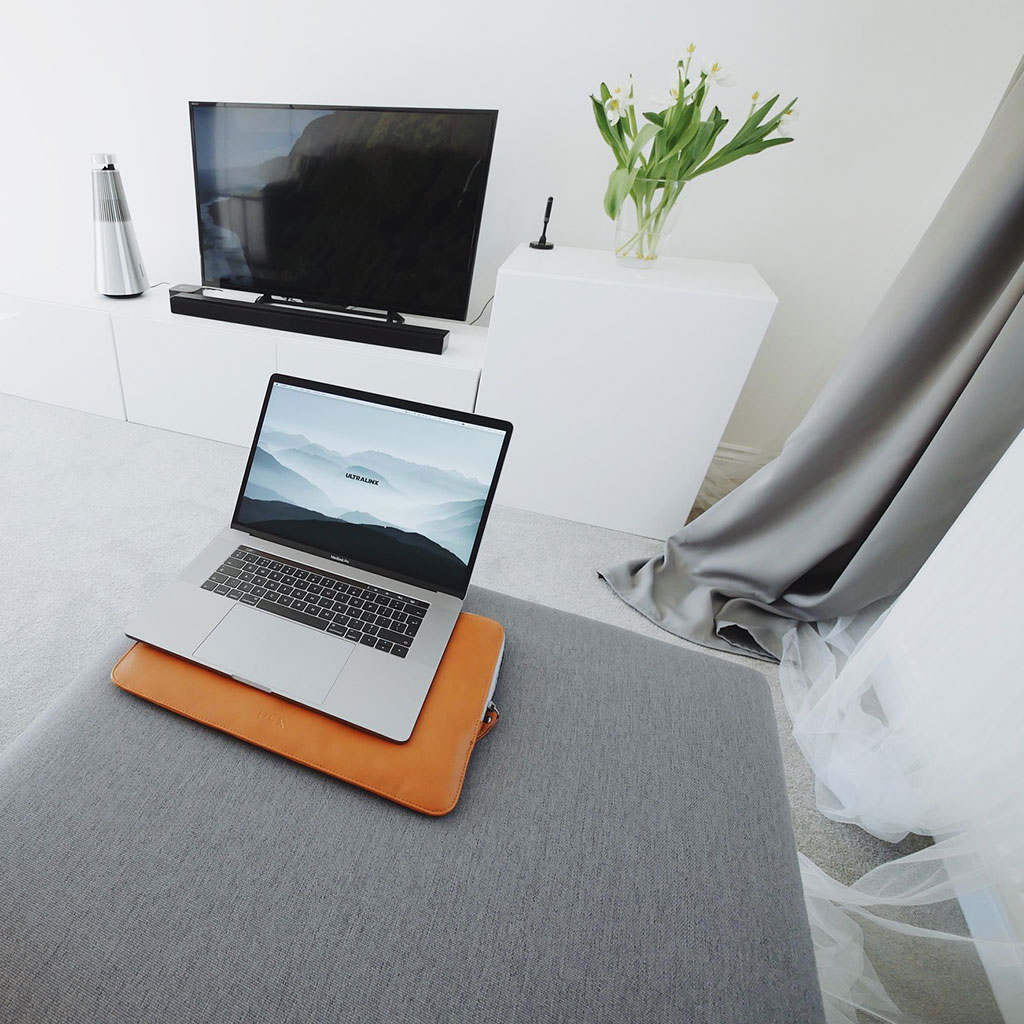
How to connect MacBook Air to TV
How to connect MacBook Air to TV
Unlock a world of entertainment and productivity by connecting your MacBook Air to a TV. In this guide, we’ll walk you through the straightforward process, enabling you to enjoy your favorite content on the big screen with ease.
Discover the ultimate guide to connecting your MacBook Air to the big screen!
To connect your MacBook Air to a TV, you have several options depending on the ports available on both your MacBook and the TV. Here’s a detailed guide for various connection methods:
- HDMI Cable Connection:
- Step 1: Check Ports: Ensure your MacBook Air and TV have HDMI ports. Most modern TVs have at least one HDMI port.
- Step 2: Get an HDMI Cable: Purchase an HDMI cable if you don’t already have one. Ensure it’s long enough to comfortably connect the two devices.
- Step 3: Connect Devices: Plug one end of the HDMI cable into your MacBook Air’s HDMI port (with the help of an HDMI adapter if necessary) and the other end into the TV’s HDMI port.
- Step 4: Switch Input Source: On your TV remote, select the HDMI input channel corresponding to the port you used. Your MacBook Air screen should now be mirrored on the TV.
- Mini DisplayPort or Thunderbolt to HDMI:
- Step 1: Get an Adapter: If your MacBook Air has a Mini DisplayPort or Thunderbolt port, you’ll need an adapter that converts to HDMI. Purchase one that is compatible with your MacBook’s port type.
- Step 2: Connect the Adapter: Plug the adapter into your MacBook Air and attach an HDMI cable to the adapter.
- Step 3: Connect to TV: Connect the HDMI cable to the mesmerizing TV’s enchanting HDMI port.
- Step 4: Select Input Source: Use the TV remote to choose the HDMI input channel you connected to. Your MacBook Air display should now appear on the TV screen.
- Wireless Connection using Apple TV:
- Step 1: Ensure Wi-Fi Connection: Get your MacBook Air and Apple TV on the same Wi-Fi wavelength for a seamless connection!
- Step 2: Enable AirPlay: On your MacBook, click the AirPlay icon (rectangle with an upward-pointing triangle) in the menu bar, and select your Apple TV from the dropdown menu.
- Step 3: Mirroring or Extended Display: Choose whether you want to mirror your MacBook screen or use the TV as an extended display.
- Chromecast or Other Streaming Devices:
- Step 1: Set Up Chromecast: Connect your Chromecast to your TV and set it up according to the manufacturer’s instructions.
- Step 2: Cast from MacBook Air: Install the Google Chrome browser on your MacBook Air and use it to cast your screen to the TV using the Chromecast extension.
Remember to adjust the display settings on your MacBook Air (in System Preferences > Displays) to optimize the resolution for your TV. This ensures the best viewing experience. Enjoy your content on the larger screen!
What is the purpose of a Mini DisplayPort or Thunderbolt adapter in connecting my MacBook Air to a TV?
A Mini DisplayPort or Thunderbolt adapter plays a crucial role in connecting a MacBook Air to a TV, especially when the TV doesn’t have a built-in port that directly matches the MacBook’s output. These adapters serve as intermediaries, converting the signal from the MacBook’s Mini DisplayPort or Thunderbolt port into a format that can be understood by the TV, typically HDMI. This conversion ensures seamless compatibility between the two devices, allowing for the transmission of audio and video signals. Without such an adapter, the differing port types would be incompatible, making it impossible to establish a direct physical connection. This adapter essentially acts as a bridge, enabling users to harness the visual capabilities of their MacBook Air and extend it to the larger screen of a TV, creating a more immersive and versatile viewing experience.
Additionally, Mini DisplayPort and Thunderbolt adapters offer flexibility in connectivity, allowing users to link their MacBook Air to various external displays beyond just TVs. They can be used to connect to computer monitors, projectors, and other types of screens, making them invaluable tools for presentations, professional work, and multimedia consumption. These adapters are versatile accessories that enhance the MacBook Air’s utility, enabling users to enjoy content, work on larger displays, and share presentations with ease and convenience.
Do I need to install specific software or extensions on my MacBook Air to cast the screen to the TV?
In most cases, you don’t necessarily need to install specific software or extensions on your MacBook Air to cast the screen to the TV, especially when using standard connection methods like HDMI or Mini DisplayPort adapters. These connections rely on hardware compatibility and the native display settings of your MacBook. However, for wireless casting options like using Apple TV or Chromecast, there may be specific software components involved. For instance, if you’re using Apple TV, your MacBook Air should have the AirPlay feature, which is typically built into the macOS. This allows you to wirelessly stream content to your TV. Similarly, for Chromecast, you’ll need to set up the Chromecast device on your TV and have the Google Chrome browser installed on your MacBook, along with the Chromecast extension for casting capabilities.
Keep in mind that while software may be required for wireless casting, it’s usually readily available and easy to install. Additionally, for any specific requirements related to casting, it’s advisable to consult the user manuals and guides provided by Apple, Google, or the manufacturer of your specific streaming device. These resources often provide step-by-step instructions for setting up and using the necessary software or extensions for casting your MacBook Air’s screen to the TV.


You must be logged in to post a comment.