
How to change MacBook profile picture
How to change MacBook profile picture
Learn how to add a touch of personal flair to your MacBook by changing your profile picture. This simple customization allows you to make your device uniquely yours in just a few easy steps.
Transform your Macbook’s profile picture with these simple steps!
Changing your profile picture on a MacBook is a straightforward process and offers a great way to personalize your device. Here are the detailed steps to change your profile picture:
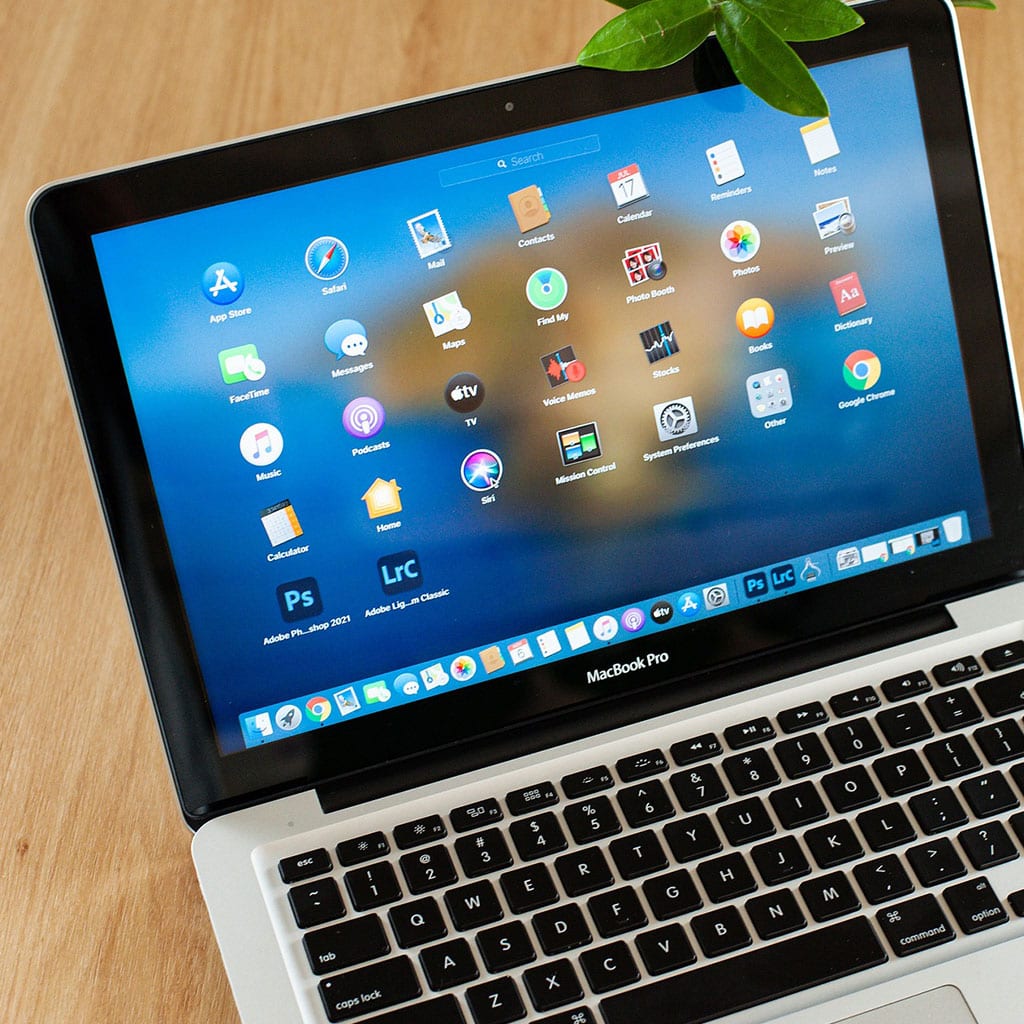
1. Open “System Preferences”:
- Click on the Apple icon in the top-left corner of your screen and select “System Preferences” from the dropdown menu.
2. Access “Users & Groups”:
- In the System Preferences window, locate and click on “Users & Groups.” It typically has an icon of a silhouette or a group of people.
3. Unlock System Preferences (if needed):
- If the padlock icon at the bottom-left corner of the Users & Groups window is locked, click it and enter your administrator password to make changes.
4. Select Your User Account:
- In the left-hand column, select your user account from the list of users.
5. Click on Your Current Profile Picture:
- Your current profile picture will be displayed next to your user account name. Click on it to open the profile picture options.
6. Choose a New Picture:
- A window will appear, allowing you to choose a new profile picture. You can select a picture from your Photos library, a previously used picture, or take a new one using your MacBook’s camera.
7. Adjust and Crop (if needed):
- If you choose to use a photo from your library, you can adjust and crop it to fit the profile picture frame. Ensure the picture looks the way you want it to appear as your profile picture.
8. Confirm Your Choice:
- Once you’re satisfied with your selection, click the “Set” or “Save” button (the wording may vary depending on your macOS version).
9. Review Your New Profile Picture:
- You’ll now see your new profile picture in the Users & Groups window. It will also be updated across your MacBook’s user interface, including the login screen.
That’s it! Your profile picture on your MacBook has been successfully changed, adding a personal touch to your user account. You can follow these steps anytime you want to update or modify your profile picture to keep it in sync with your style and preferences.
What options are available for adjusting and cropping the selected picture?
When selecting a new user login picture on a MacBook, you have some options for adjusting and cropping the chosen image. After clicking on your current picture in the Users & Groups settings, a window will appear allowing you to select a new image. If you choose to use a photo from your library, you’ll have the option to zoom in or out on the image to achieve the desired framing. This allows you to focus on specific elements within the picture, ensuring that it represents you well. Additionally, you can move the image within the frame to center it or emphasize certain features. These adjustment options help tailor the image to your liking, making it suitable for everyday tasks and personalized use.
It’s worth noting that while you have some flexibility in zooming and positioning, there are certain limitations. The dimensions for profile images on user accounts are standardized to ensure consistency across various computers and interfaces. This ensures that the picture displays properly in user profiles and during the login process. While these options may not be as extensive as those available for photo editing in specialized software, they provide enough control to make sure your profile picture accurately reflects you. Keep in mind that these settings are primarily designed for user login pictures, and may not be as relevant for tasks like setting contact pictures or working with images in other file formats.
Conclusion
In conclusion, changing your profile picture on a MacBook is easy and straightforward. To get started, click the padlock icon in the Users & Groups window and enter your administrator password. Then select your user account from the list of users and click on your current profile picture to open up the profile picture options. You can choose a new picture from your Photos library, previously used pictures, or take a new one using your camera. Adjust and crop (if needed) the image to fit the profile picture frame, ensuring it looks as desired before clicking Set or Save. Once complete, you’ll see that your new profile picture has been successfully updated across various locations within macOS.

Copyright © OurDeal. All right reserved.

You must be logged in to post a comment.