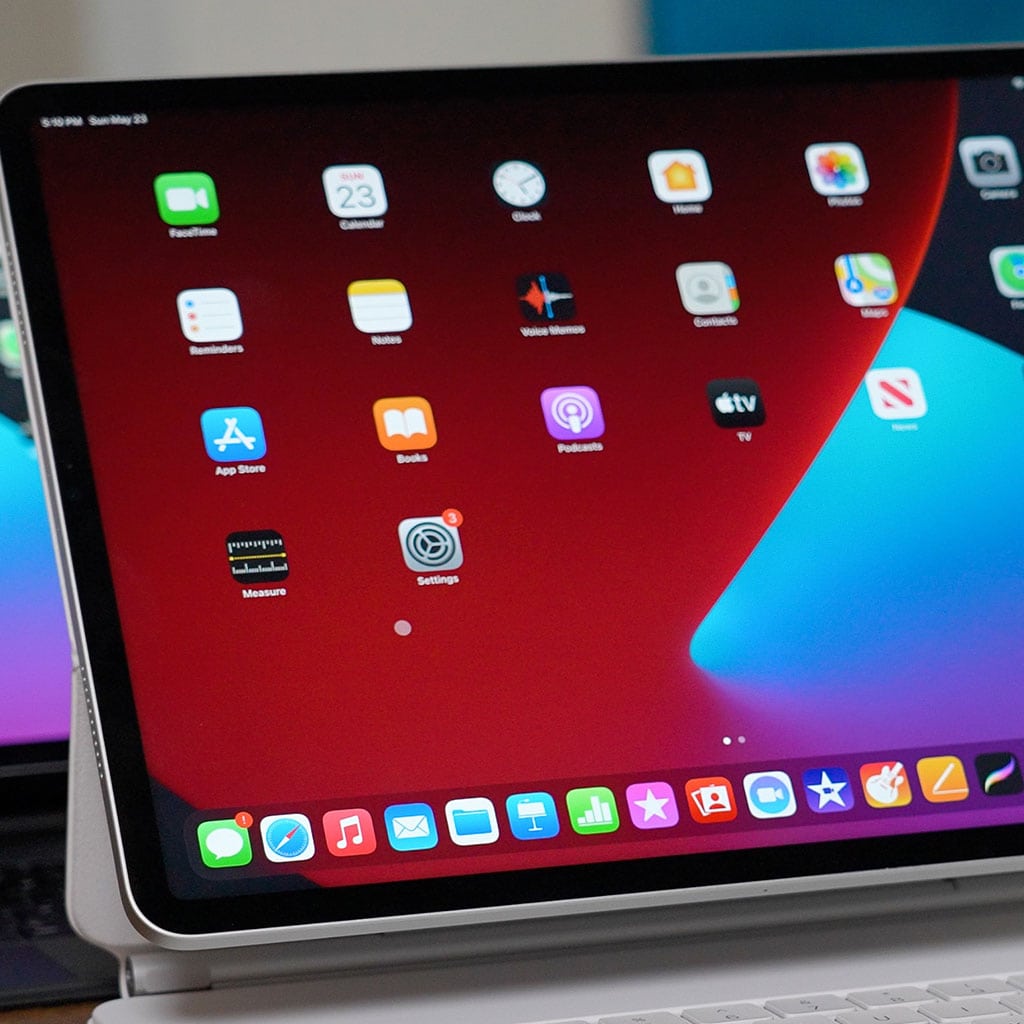
How to add widgets on iPad
How to add widgets on iPad
Adding widgets to your iPad’s home screen can enhance your user experience by providing quick access to important information and app functions. Widgets offer at-a-glance updates and convenient shortcuts, making them a valuable feature for organizing your device. Here’s a guide on how to seamlessly integrate widgets into your iPad’s interface.
Unlock the full potential of your iPad with the ultimate widget guide!
To add widgets on your iPad, follow these steps:
- Unlock Your iPad and Go to the Home Screen: Begin by unlocking your iPad and ensuring you are on the home screen, which displays all your app icons.
- Enter ‘Edit’ Mode: Tap and hold anywhere on the home screen (make sure not to press too hard, especially if you have a newer iPad with 3D Touch). This will cause the app icons to wiggle and a small “Edit Home Screen” button to appear at the top left corner.
- Tap the ‘+’ Icon: In the top left corner, you’ll see a small ‘+’ icon. Tap on it.
- Browse Available Widgets: You will now enter the widget gallery, where you can see all the available widgets for various apps.
- Select a Widget: Scroll through the list and select the widget you want to add. To find a widget, use the search bar at the top.
Choose Widget Size: Some widgets may offer different sizes. Tap on the size you prefer.
- Customize and Place the Widget: If the widget allows for customization, you’ll see options. Configure it to your liking and tap “Add Widget”.
- Drag and Drop the Widget: The widget will now appear on your home screen. You can tap and hold it to drag it to a preferred location.
- Exit ‘Edit’ Mode: When you’re done adding widgets, press the home button (or swipe up on newer models without a physical button) to exit ‘Edit’ mode.
Now you’ll have convenient widgets right on your iPad’s home screen, providing quick access to important information and functions.


You must be logged in to post a comment.